This tutorial introduces simulation concepts that are used in Gazebo Physics.
Prerequisites
Physics simulation features
Here is a snapshot of simulation features supported by gz-physics:
- Collision detection: ODE, Bullet, various collision shapes and mesh
- Kinematics; joint, arbitrary body shapes, various kinematic states like transmoration, velocity, acceleration etc., inverse kinematics
- Dynamics: joint constraints, mass matrix, gravity, forces and frictions, closed-loop structures
Gazebo adopts SDFormat structure to describe visual elements and also the dynamic physics aspects. To get started on SDFormat 1.7, refer to this SDFormat specification. For a comprehensive tutorial for constructing your robot model from SDFormat, refer to this Building robot tutorial.
Physics concepts in Gazebo simulation
In this tutorial, we will show how to manipulate and visualize some physics aspects using demos on Gazebo.
All demos can be found in gz-sim/examples/worlds folder.
Differential drive
This demo world demonstrates how we can control simulated differential drive on cars depending on physics engines and visualize the collision concept. To run the demo world, download the SDFormat file by:
Then run the simulation:
To control the car movement, in a separate terminal window, we publish a Twist message using Gazebo Transport library:
Then press the Play button to start the simulation. This command tells the car to move in its coordinate frame with velocity 1.0 meter per second in the X-axis and angular velocity of 0.5 radians per second in Z-axis.
Note that the mechanism to move the car is different depending on the used physics engine, see Use different physics engines for details on how to change physics engine used by simulation.
Dartsim moves the car by applying force on the joints, whereas TPE directly set velocity on the model.
Monitor the model and link pose
We can monitor the model pose by selecting the moving car and then select the drop-down list Pose. Moreover, we could also read the model links' poses relative to their parent link by selecting the corresponding link on the model tree:
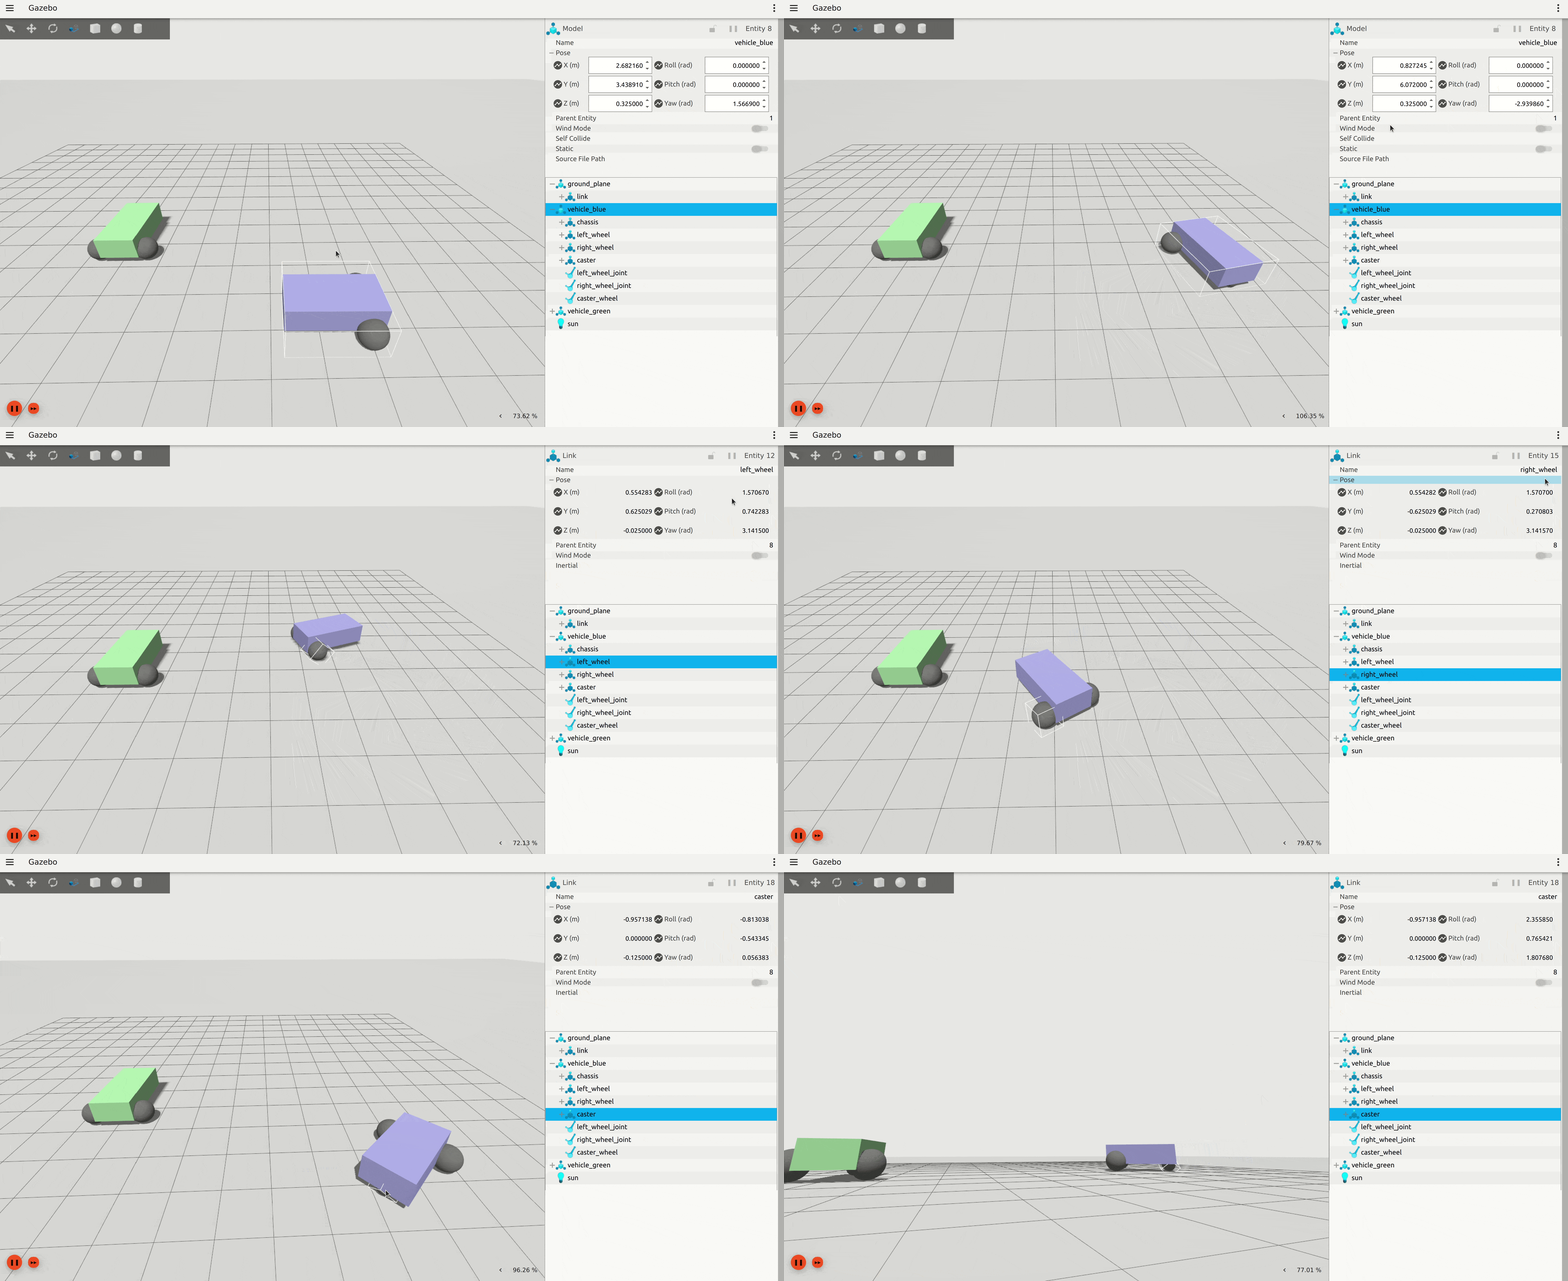
Note that using the model tree as shown in the above gif, we can view the parameters and properties such as visual or collision of each link or joint in the model. For more detail about the kinematics of the model tree, see this tutorial.
Collision effect
Gazebo also simulates realistic collision effect. While the vehicle_blue car is moving in a circle, we can move the vehicle_green to be on vehicle_blue's upcoming path. The blue car will then push the green car in the following demo.
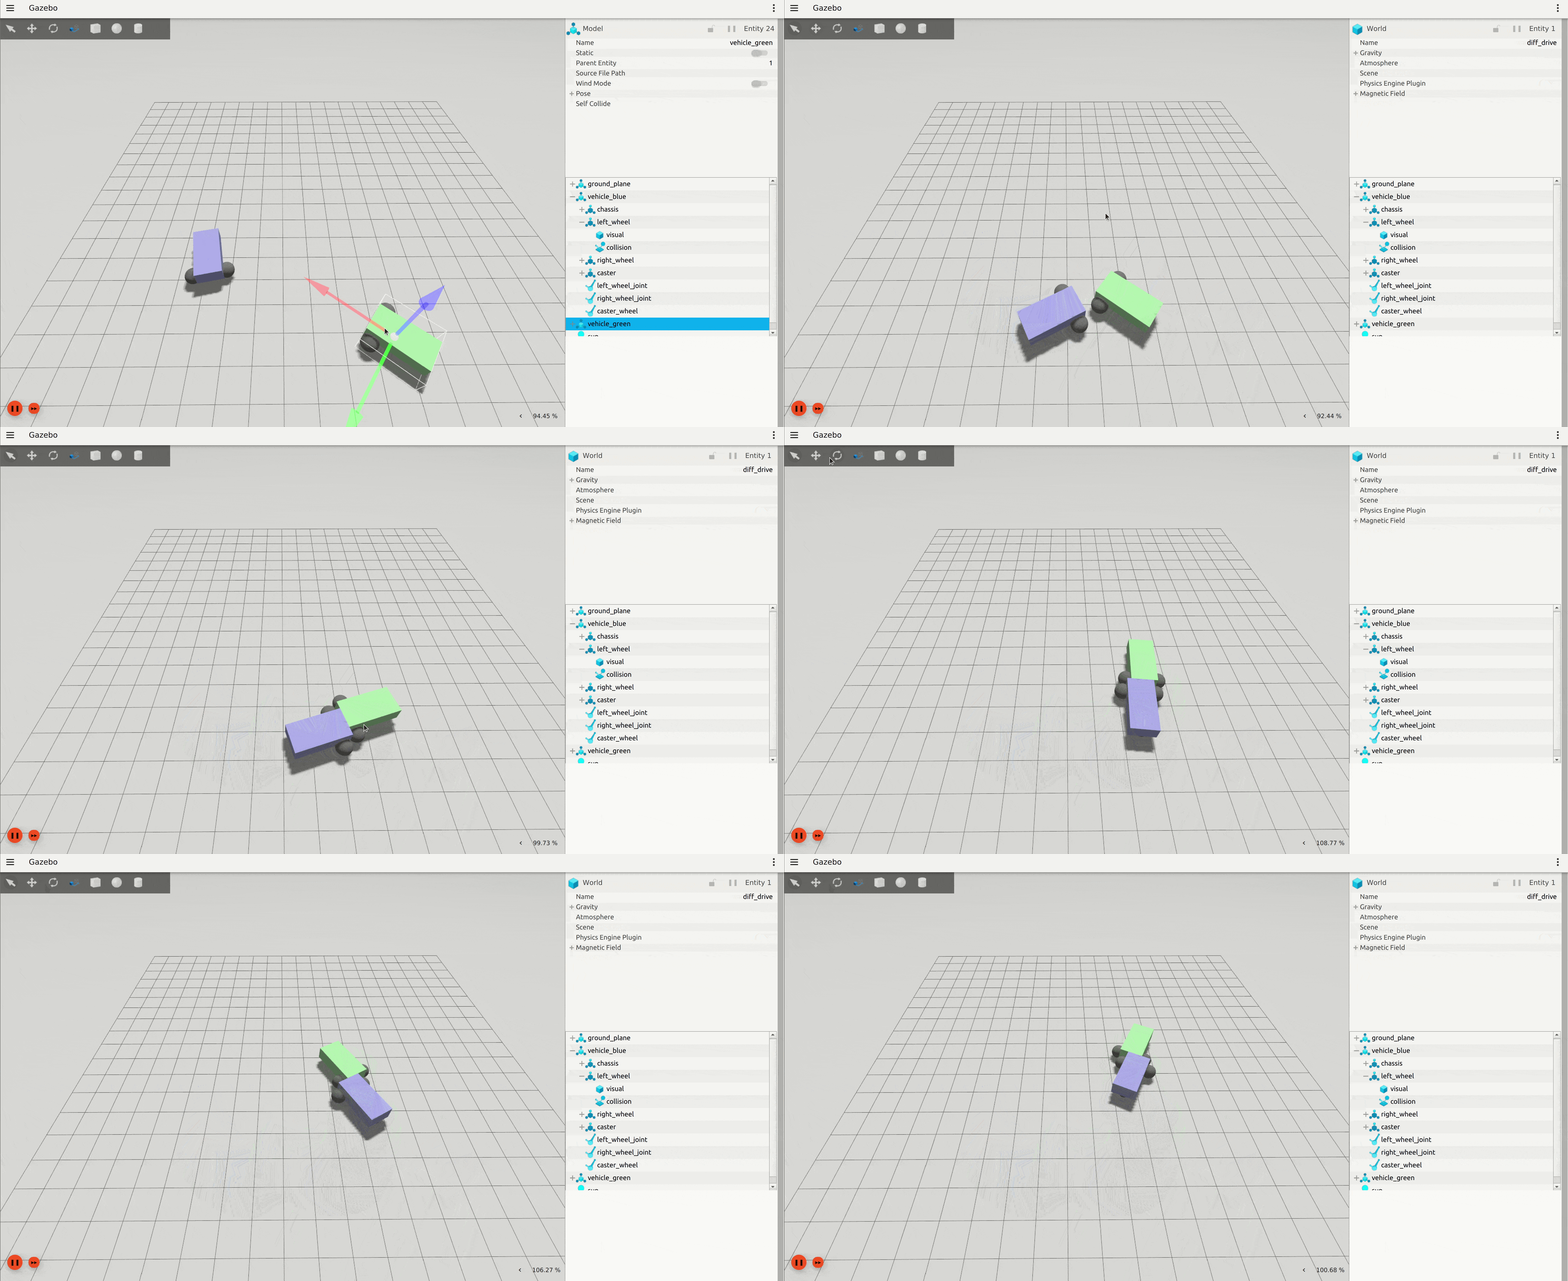
To see where these collision parameters are set in SDFormat and how it works, please see this SDFormat tutorial.
Lift Drag
The Lift Drag demo world shows how joint force, torque, and pressure are supported in Gazebo Physics. To run the demo, download by:
Run demo in Gazebo by:
To see how the rotor lifts the cube due to wind force pressure, in a separate terminal window, we can publish a Double message represeting the torque (Nm) applying to the rotor rod axis:
Then please press Play button to start the simulation.
You will see the cube drops due to no lift force from support torque on the rod, and the blades will stop after some time due to friction.
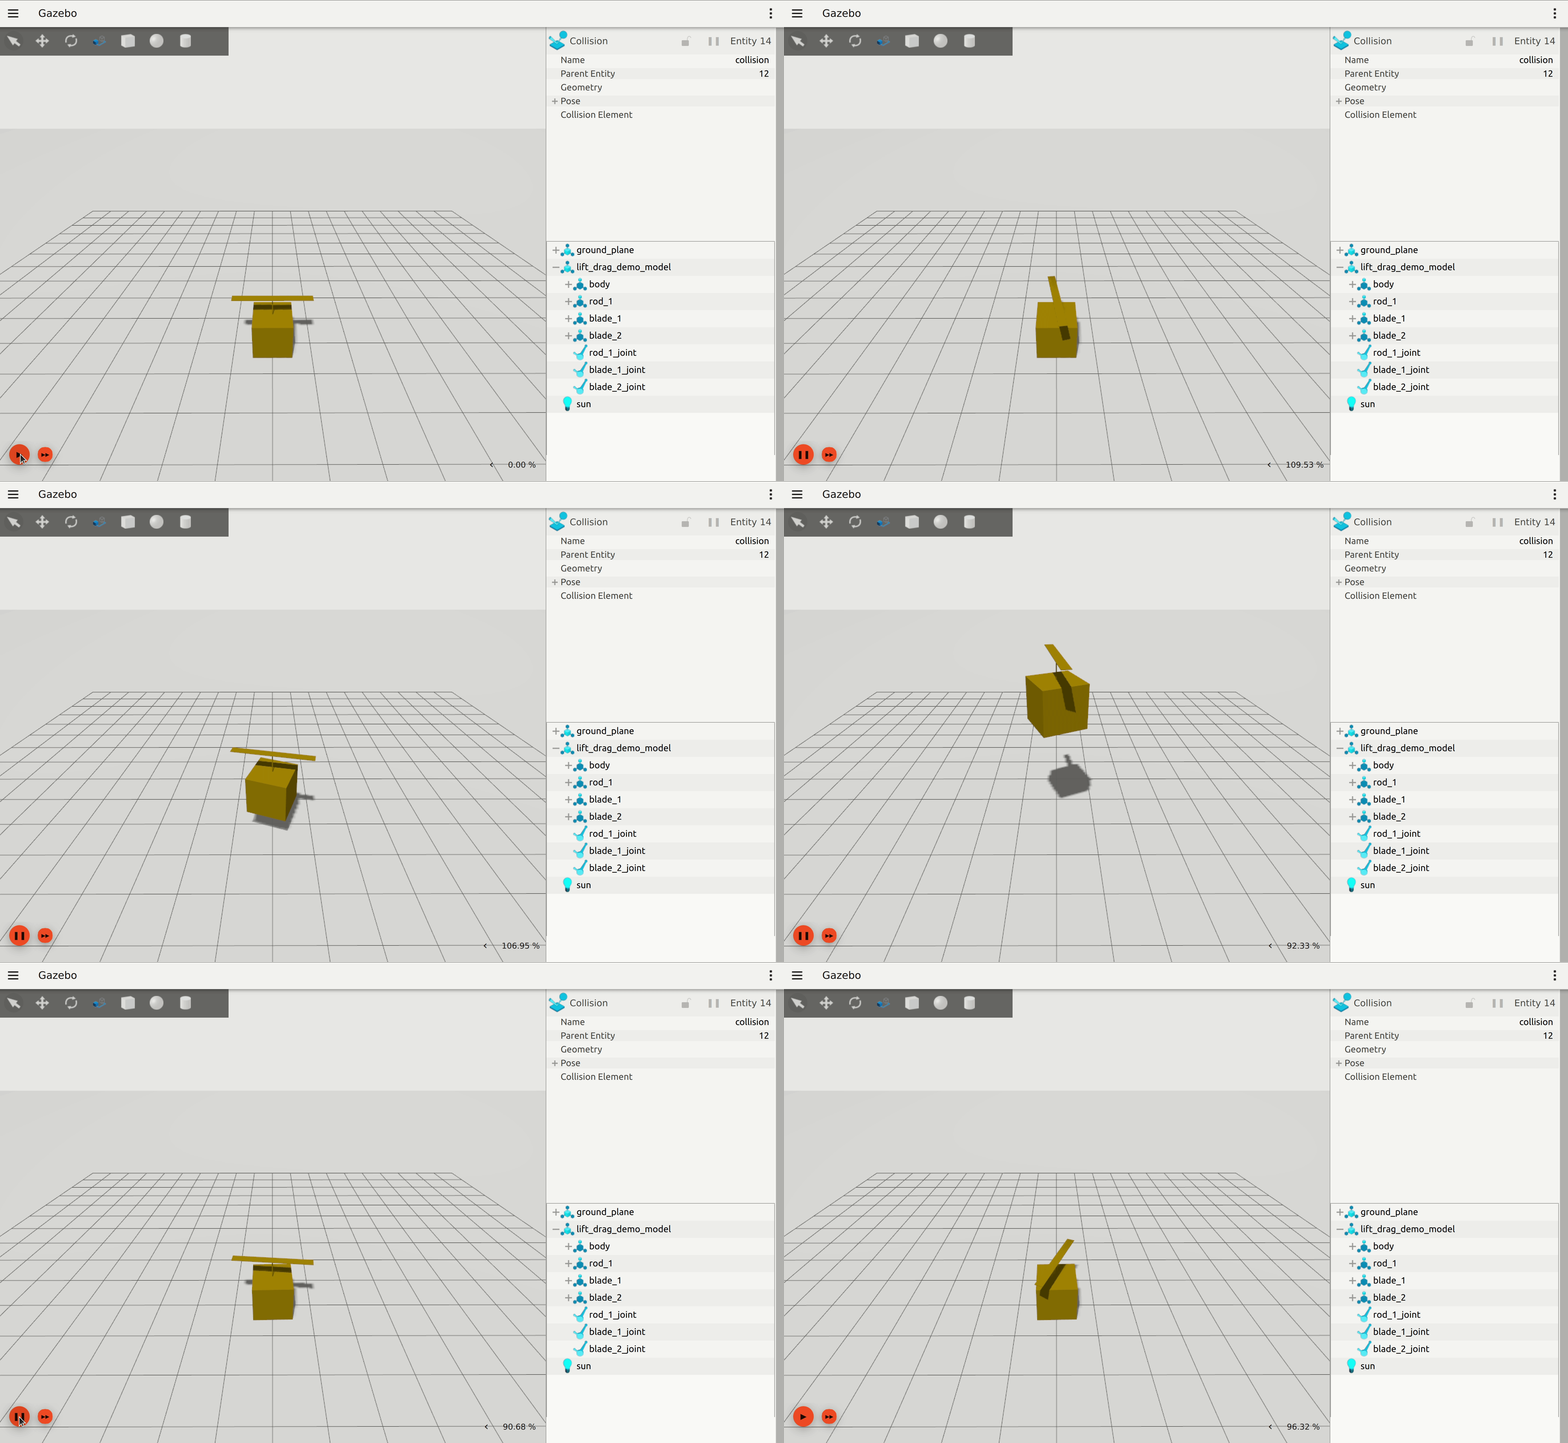
Several simulation features come into effect in this demo. The lift and drag force is computed by taking the wind pressure, mass of the cube, and gravity into account, and the resulting force is exerted on multiple joints. Dartsim is used to power this demo.
Buoyancy
This demo world shows how buoyancy is supported in Gazebo Physics. This world contains the following three models:
- submarine: A simple submarine model that floats in place.
- submarine_sinking: A simple submarine model that is not buoyant and sinks.
- submarine_buoyant: A simple submarine model that is buoyant and floats.
To run the demo, download the Buoyancy demo to your home folder by:
Run demo on Gazebo by:
After pressing the Play button, demo will run as below:
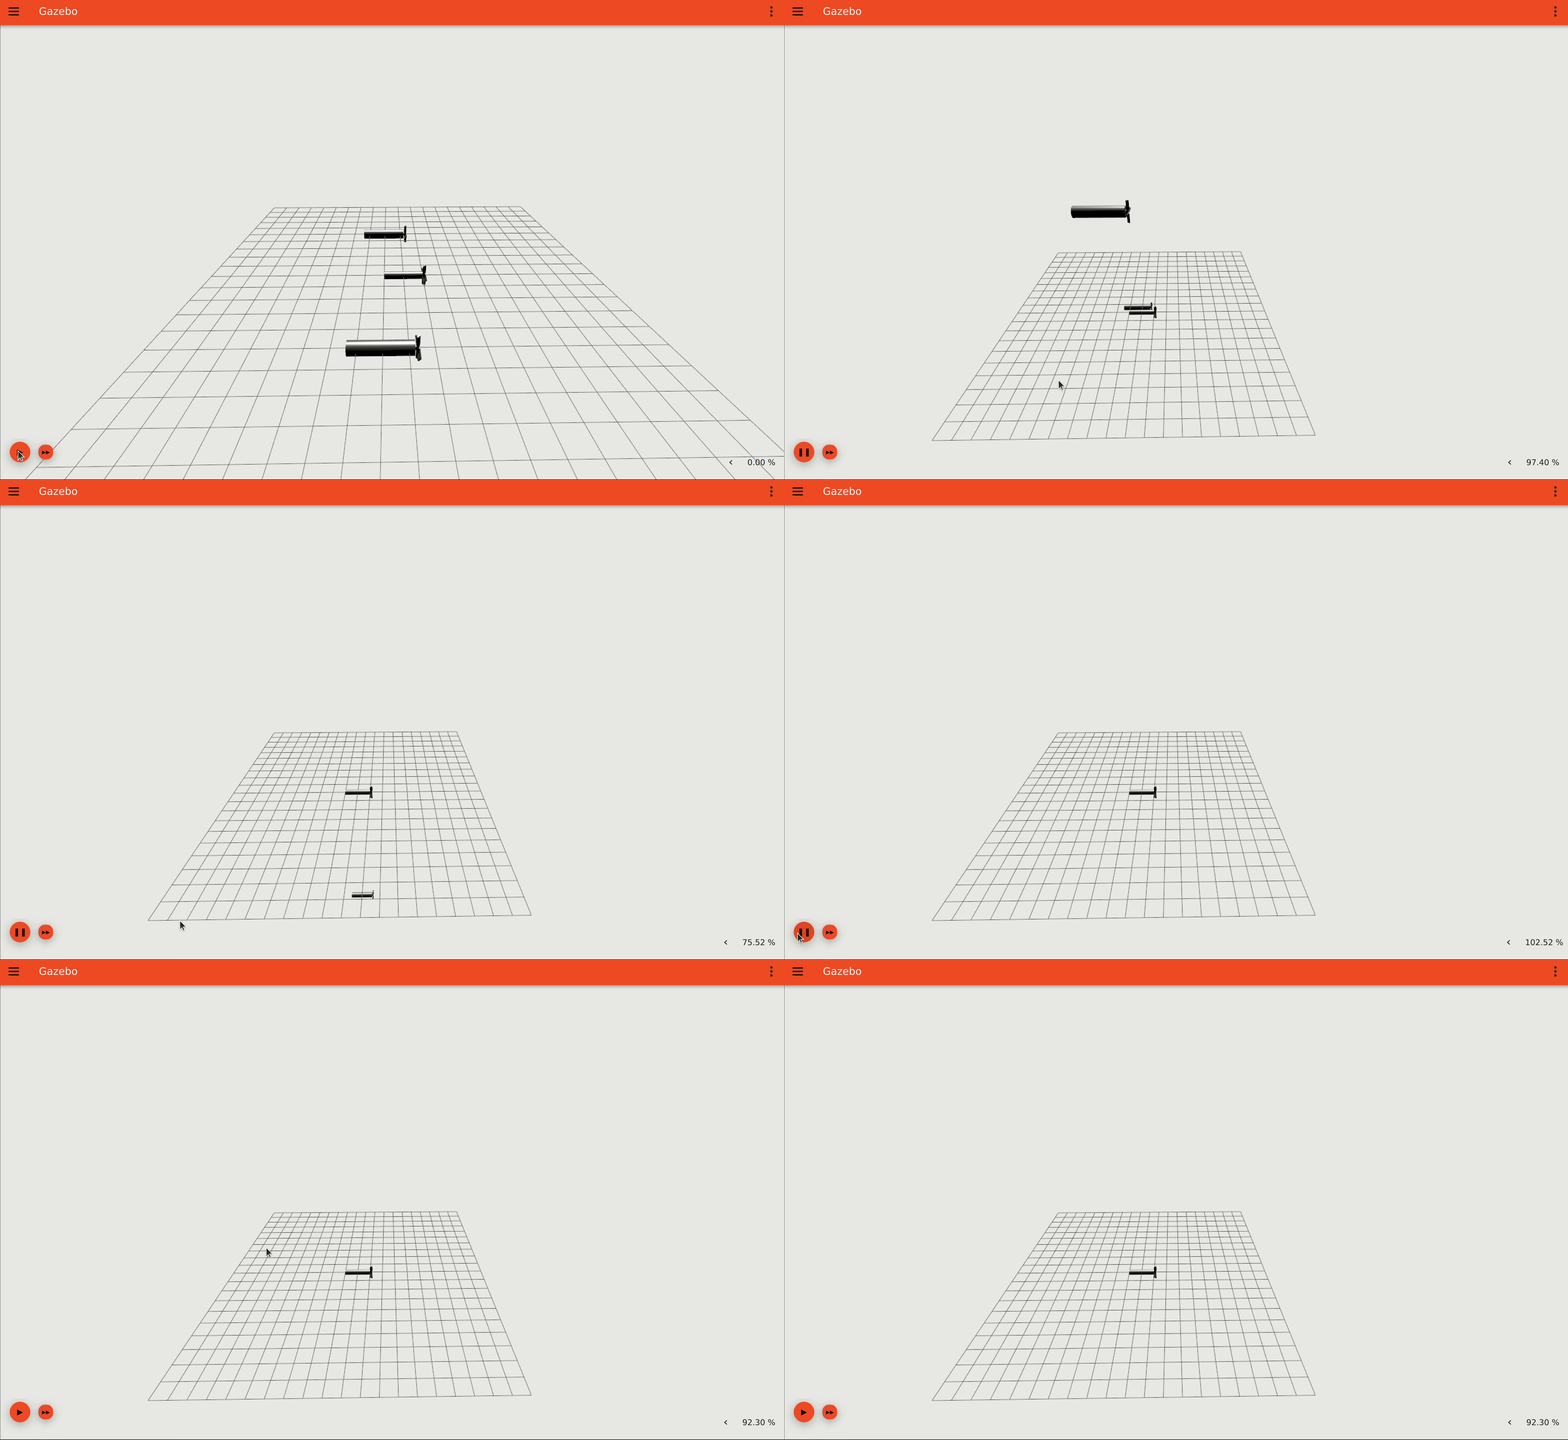
The buoyancy concept is implemented by simulating fluid density and applying the force on the object in the fluid proportional to its volume. Hence, you can change the model buoyancy by modifying its inertia, see SDFormat link specification on how to do that.
Pendulum
This demo world demonstrates how simulated inertia and gravity affect the object movement by showing free swing of the pendulum. Download the Pendulum demo to your home folder by:
and start the Pendulum demo on Gazebo by:
After pressing the Play button, you will see that the pendulum will oscillate around its main revolute joint forever due to lack of friction (it is undeclared in the SDFormat file).
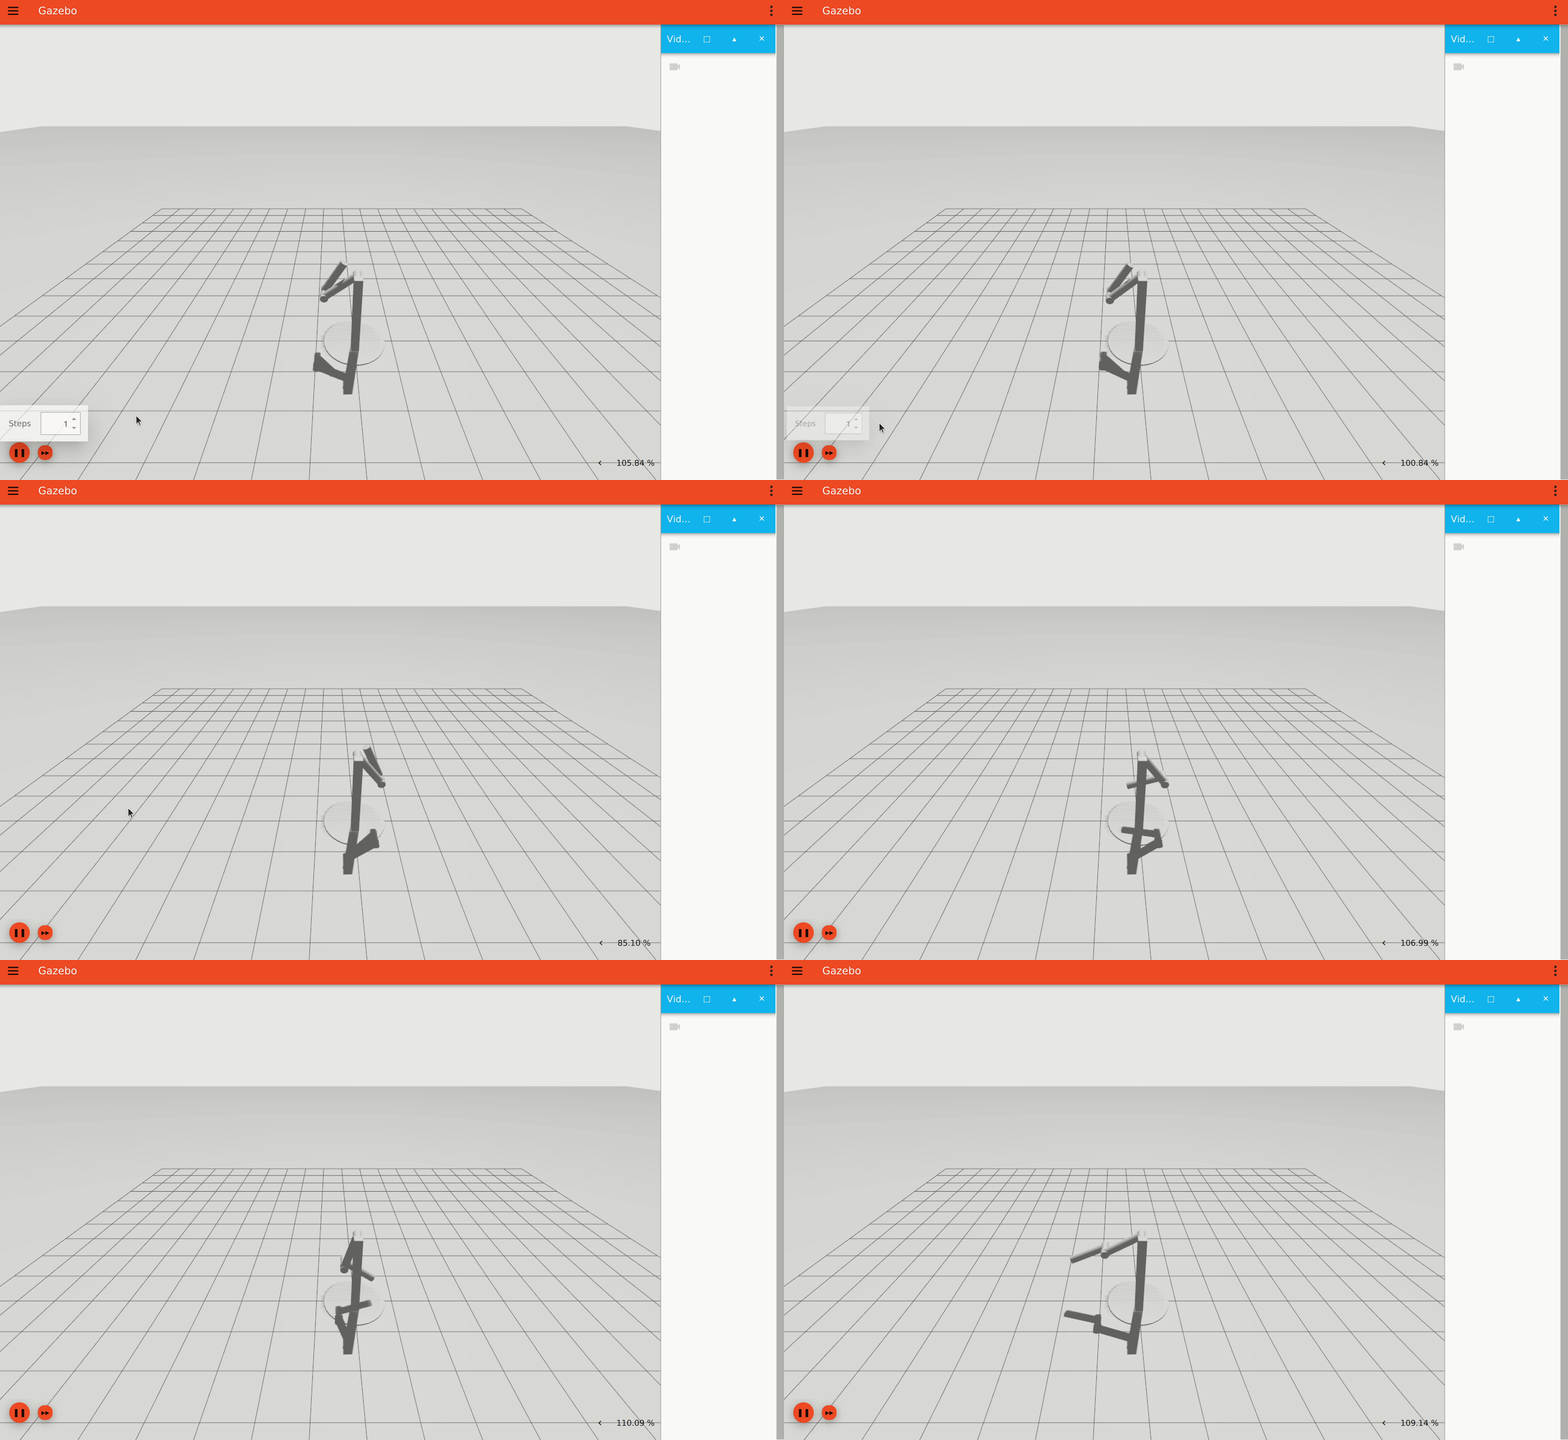
The oscillation period or the max angular speed of the joint will change if we modify the inertia of the rods. According to the demo below, you will see that gravity is defined as -9.8 m/s^2 on the Z-axis. Refer to link specification for modifying the inertia and mass of the links.
Multicopter
This demo world shows how Gazebo Physics supports gravity, actuators and inertia to control object velocity. Download the Multicopter demo to your home folder by:
and start the Multicopter demo on Gazebo by:
To control the multicopter to ascend and hover, in a separate terminal window, send a Twist message to command the X3 multicopter ascending 0.1 m.s as follow:
then hovering:
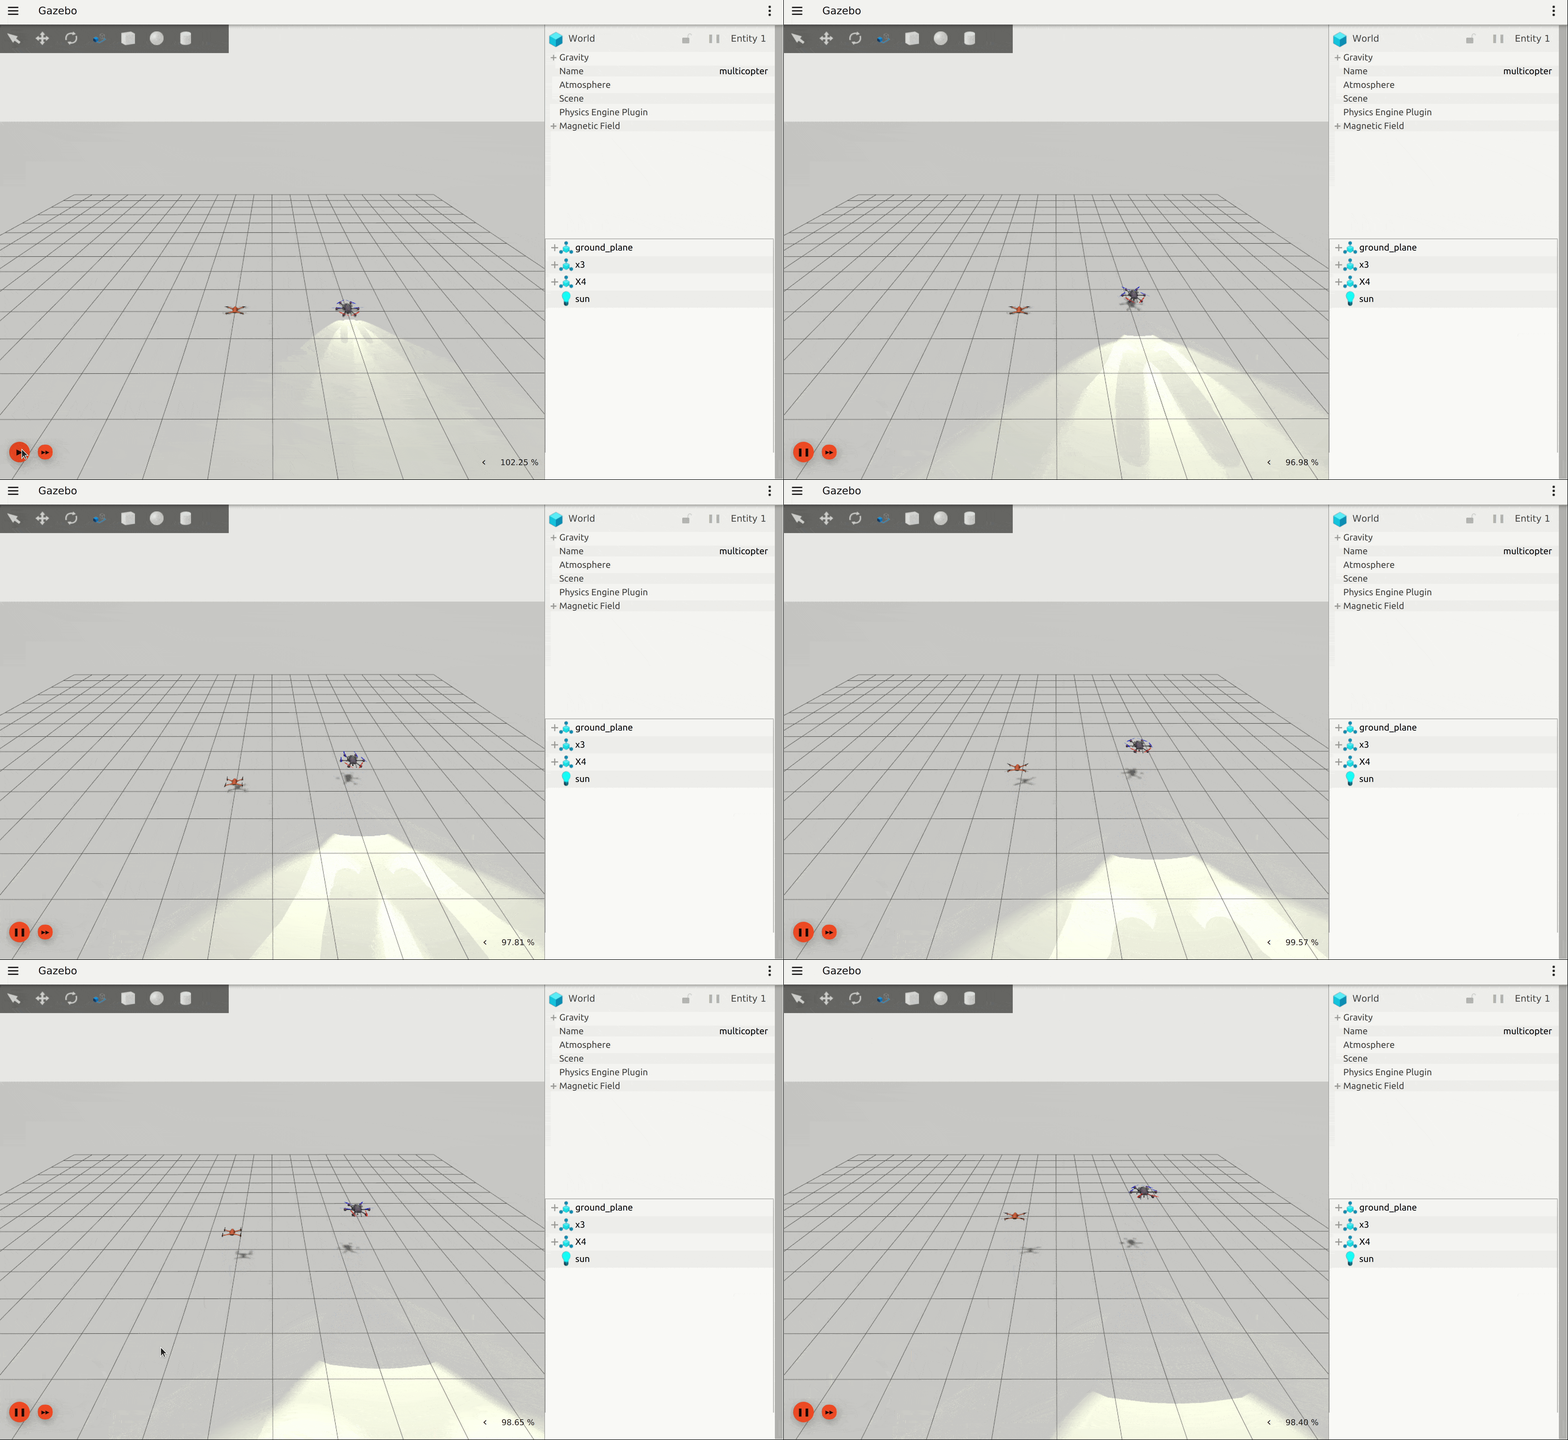
Do the same for the X4 multicopter. After pressing the Play button, you will see both of the multicopters will ascend, this demonstrates how the physics engine utilizes model kinematics and dynamics to support simulating complex model and its controller. For more details about the multicopter controller, please see MulticopterVelocityControl.cc.