This example shows how to use the depth camera.
Compile and run the example
Clone the source code, create a build directory and use cmake and make to compile the code:
git clone https://github.com/ignitionrobotics/ign-rendering
cd ign-rendering/examples/simple_demo
mkdir build
cd build
cmake ..
make
Execute the example:
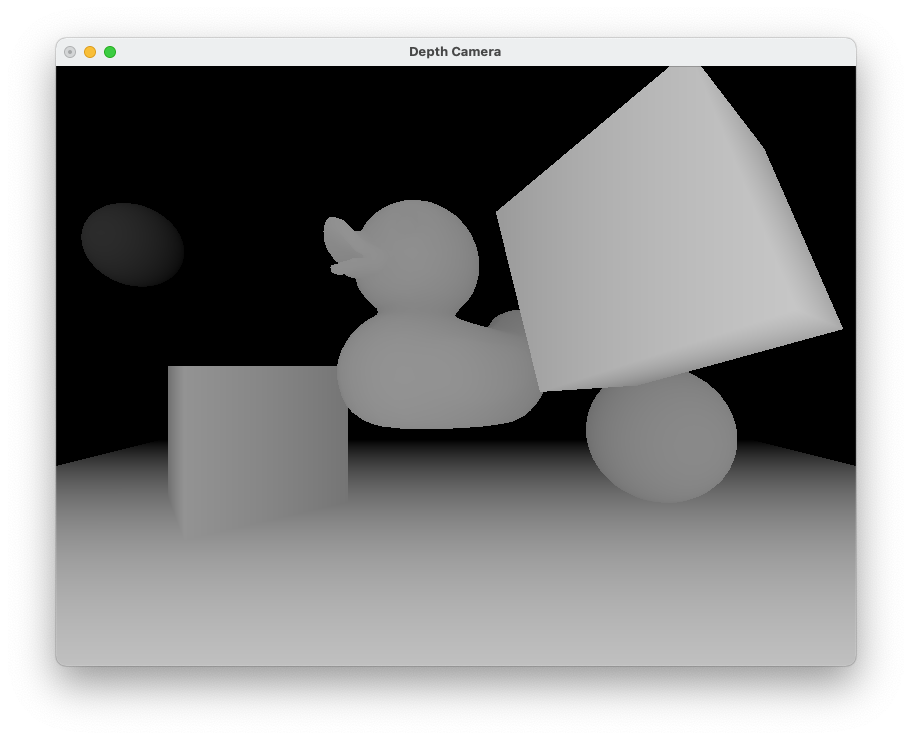
You'll see:
[Msg] Loading plugin [ignition-rendering-ogre]
===============================
ESC - Exit
===============================
Code
Most of the code is adapted from Simple demo, here we outline the key differences.
The function buildScene() is responsible for creating and configuring the depth camera. The main points to note are:
- The image format is set to
PixelFormat::PF_FLOAT32_RGBA,
- Anti-alising is enabled,
- The depth texture is created after configuration is modified from defaults.
camera->SetLocalPosition(0.0, 0.0, 0.5);
camera->SetLocalRotation(0.0, 0.0, 0.0);
camera->SetImageWidth(800);
camera->SetImageHeight(600);
camera->SetAspectRatio(1.333);
camera->SetHFOV(IGN_PI / 2);
camera->SetNearClipPlane(0.15);
camera->SetFarClipPlane(10.0);
camera->SetAntiAliasing(2);
camera->CreateDepthTexture();
root->AddChild(camera);
The window updating code is in GlutWindow.cc. The function initCamera() registers a callback with the camera that captures a copy of the depth image each frame. This will later be drawn to the window in the main update loop.
{
g_camera = _camera;
imgw = g_camera->ImageWidth();
imgh = g_camera->ImageHeight();
ir::Image image = g_camera->CreateImage();
g_image = std::make_shared<ir::Image>(image);
g_camera);
g_connection = depthCamera->ConnectNewDepthFrame(
std::placeholders::_1, std::placeholders::_2, std::placeholders::_3,
std::placeholders::_4, std::placeholders::_5));
g_camera->Update();
}
The depth camera is capable of generating both color and depth data. This example shows how to connect and receive depth data in the OnNewDepthFrame() callback function.
void OnNewDepthFrame(const float *_scan,
unsigned int _width, unsigned int _height,
unsigned int ,
{
unsigned char *data = g_image->Data<unsigned char>();
ConvertDepthToImage(_scan, data, _width, _height);
}
It converts the depth image to a RGB grayscale format and copies it from the depth camera to a memory reserved in a globally scoped Image.
void ConvertDepthToImage(
const float *_data,
unsigned char *_imageBuffer,
unsigned int _width, unsigned int _height)
{
float maxDepth = 0;
for (unsigned int i = 0; i < _height * _width; ++i)
{
{
maxDepth = _data[i];
}
}
double factor = 255 / maxDepth;
for (unsigned int j = 0; j < _height * _width; ++j)
{
unsigned char d = static_cast<unsigned char>(255 - (_data[j] * factor));
_imageBuffer[j * 3] = d;
_imageBuffer[j * 3 + 1] = d;
_imageBuffer[j * 3 + 2] = d;
}
}
The other option is the ConnectNewRgbPointCloud call that receives colored point cloud data on callback.
The reason for setting the camera image format to PixelFormat::PF_FLOAT32_RGBA is to ensure that when the Image is created it reserves a buffer of the correct size so that it is able to pack both color and depth data.