This tutorial shows how to add an environment map to a mesh.
An environment map, also known as a reflection map, is an efficient way to create reflective surfaces using a precomputed texture. The environment map texture used by ignition rendering needs to be the form of a cube map.
Example mesh with Environment map
An example of a mesh with an environment map can be found in the ogre2_demo, which uses the ogre2 render engine.
To see the example mesh, build and run the demo:
Now run it:
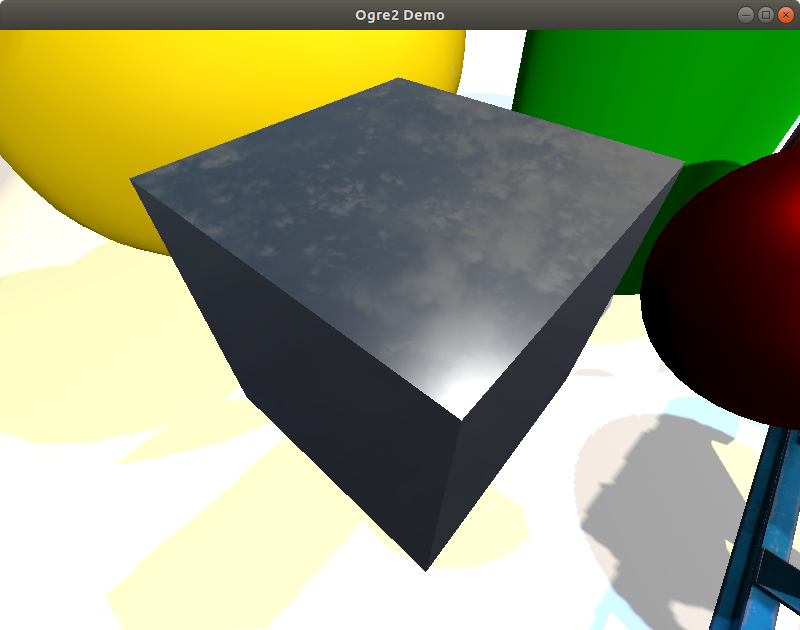
There are two meshes in the scene with environment maps. One is the pump and the other is the gray box on the left. The effect is more evident on the gray box as it uses a mirror-like material with low roughness and high metalness values. If you look at the box mesh from different angles, you will notice that there are reflections of the sky. This mesh is using the same cube map as the one that is used to create the skybox.
Code
The code creates a mirror-like material and sets the environment map by giving it the path to the sky cube map texture.
Creating a cube map
The cube map accepted by the ogre2 render engine needs to be in a specific format. You can use the gimp-dds plugin to create the texture.
Let's take a look at the sky cube map in gimp. Open gimp and import the sky_lowres.dds file. Look at the Layers windows (Windows > Dockable Dialogs > Layers) to see that each face of the cube map is in its own individual layer.
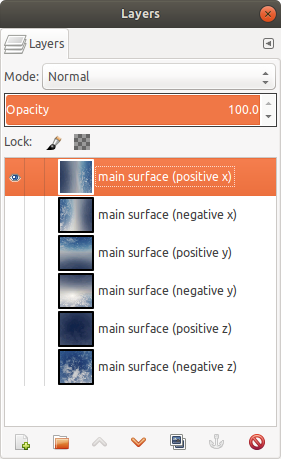
To create a new cube map, you will need to have a similar setup to the one shown above. One way to do this is to modify an existing cube map in ignition rendering and replace the image in each layer with your new cube map images (there should be 6 of them - one for each face). You can resize the canvas to match the texture size of you new cube map. Pay attention to the orientation of the image in each layer as it could be different from the orientation of other readily available cube maps online since ignition rendering uses Z up instead of Y up.
Once you are done, export the new cube map by going to File > Export As, give it a new name, and click Export. In the Save as DDS dialog, make sure to select Save: As cube map and Mipmaps: No mipmaps. Your newly exported cube map should be ready to use in ignition rendering.