Programmatic distortions of 3D models allows us to create numerically controlled deformations on an object in batches. This can be used to generate sets of similar objects to test the generalization of perception algorithms, underwater manipulation of naturally biofouled or deformed objects, and in other applications.
One way to programmatically distort models is to use Blender Python scripting. Blender is a free open source 3D modeling software used by professional artists for games and films. It offers a Python API for most things available in its GUI.
Prerequisites
These instructions have been tested in Blender 2.92, 3.0.1 and 3.2. Version 2.8x and above have a revamped user interface from previous versions. The version in packaging managers such as apt-get may be older. In that case, install manually as needed. These instructions may work in newer versions. If newer versions do not work for you, Blender 2.92 can be found here.
Usage
Locate or download the Blender Python script.
Launch the Blender GUI.
Helpful tip for Blender Python development: To show Python API in the tooltips when the cursor is hovered over a button or field, go to Edit > Preferences, Interface tab, Display group, check Python Tooltips.
Locate model file and mesh name
Before we run the script, we need to locate the path of the 3D model file and find the name of the part in the actual model file. These will be passed as parameters to the script.
We will use the Coke model as an example.
The rest of the tutorial will assume that you have downloaded the model into a directory called
models, and the OBJ file is located atmodels/Coke/meshes/coke.obj.Open or import the 3D model file of the object you want to distort.
In the upper-left corner, File > Import. Navigate to the mesh file you want.
Choose Transform while importing: Z Up, X Forward.
Look for the mesh name in the model.
You can find this in the View Layer list in the upper-right panel.
If the model has multiple meshes, you will need to merge the parts, so that the entire model is distorted, or choose the part that you wish to distort.
Tip: To view the textured object in the viewport, click on the globe icon in the upper right of the viewport, which is for Viewport Shading: Material Preview.
If the texture is not loading correctly for you, check that you have the entire folder for the object, which includes the meshes and materials directories.
Tweak the model (optional)
Note that depending on how the polygons are arranged on a mesh, the results of the distortion will differ. Advanced users may choose to split up the polygons or otherwise change the polygon layout to get more even distortion results. This is a matter of trial and error until you are happy with the distortion result.
Run the script
The script takes a few arguments. For the latest arguments, see the script itself.
mesh_path: Absolute path to the mesh fileobject_prefix: Name of the object in the Scene Collection panel in Blender, or the prefix of the name if it contains automatically generated suffixes like.001,.002, etc. Blender automatically appends numerical suffixes if the script is repeatedly run.distort_extent: A floating point number in the range of [0, 1]. This number may need tuning depending on the object model. If usingvert_randmethod, you may want to tuneVERT_RAND_MINandVERT_RAND_MAXto the model.method: A list of strings. Distortion operations, in order of desired execution.
From shell command prompt
Run the Blender executable in the background (-b), passing it the Python (-P) script file and custom arguments to the distortion script (arguments after --):
Note that the list needs to be in quotes.
From Blender Scripting panel Python prompt
At the top of Blender GUI, go to the Scripting tab. All commands will be executed in the Console panel in the middle-left of the screen.
Define the full path to the model file and the mesh name, which you found above. For example, the Coke model:
Set optional arguments. If not specified, the default will be used. Make sure method is specified as a list in brackets, even if it contains only one element.
Put the args into the input array:
Run the script, replacing its path with the one on your machine:
This will execute the script with the command line arguments defined in sys.argv and export the result to file.
Example results
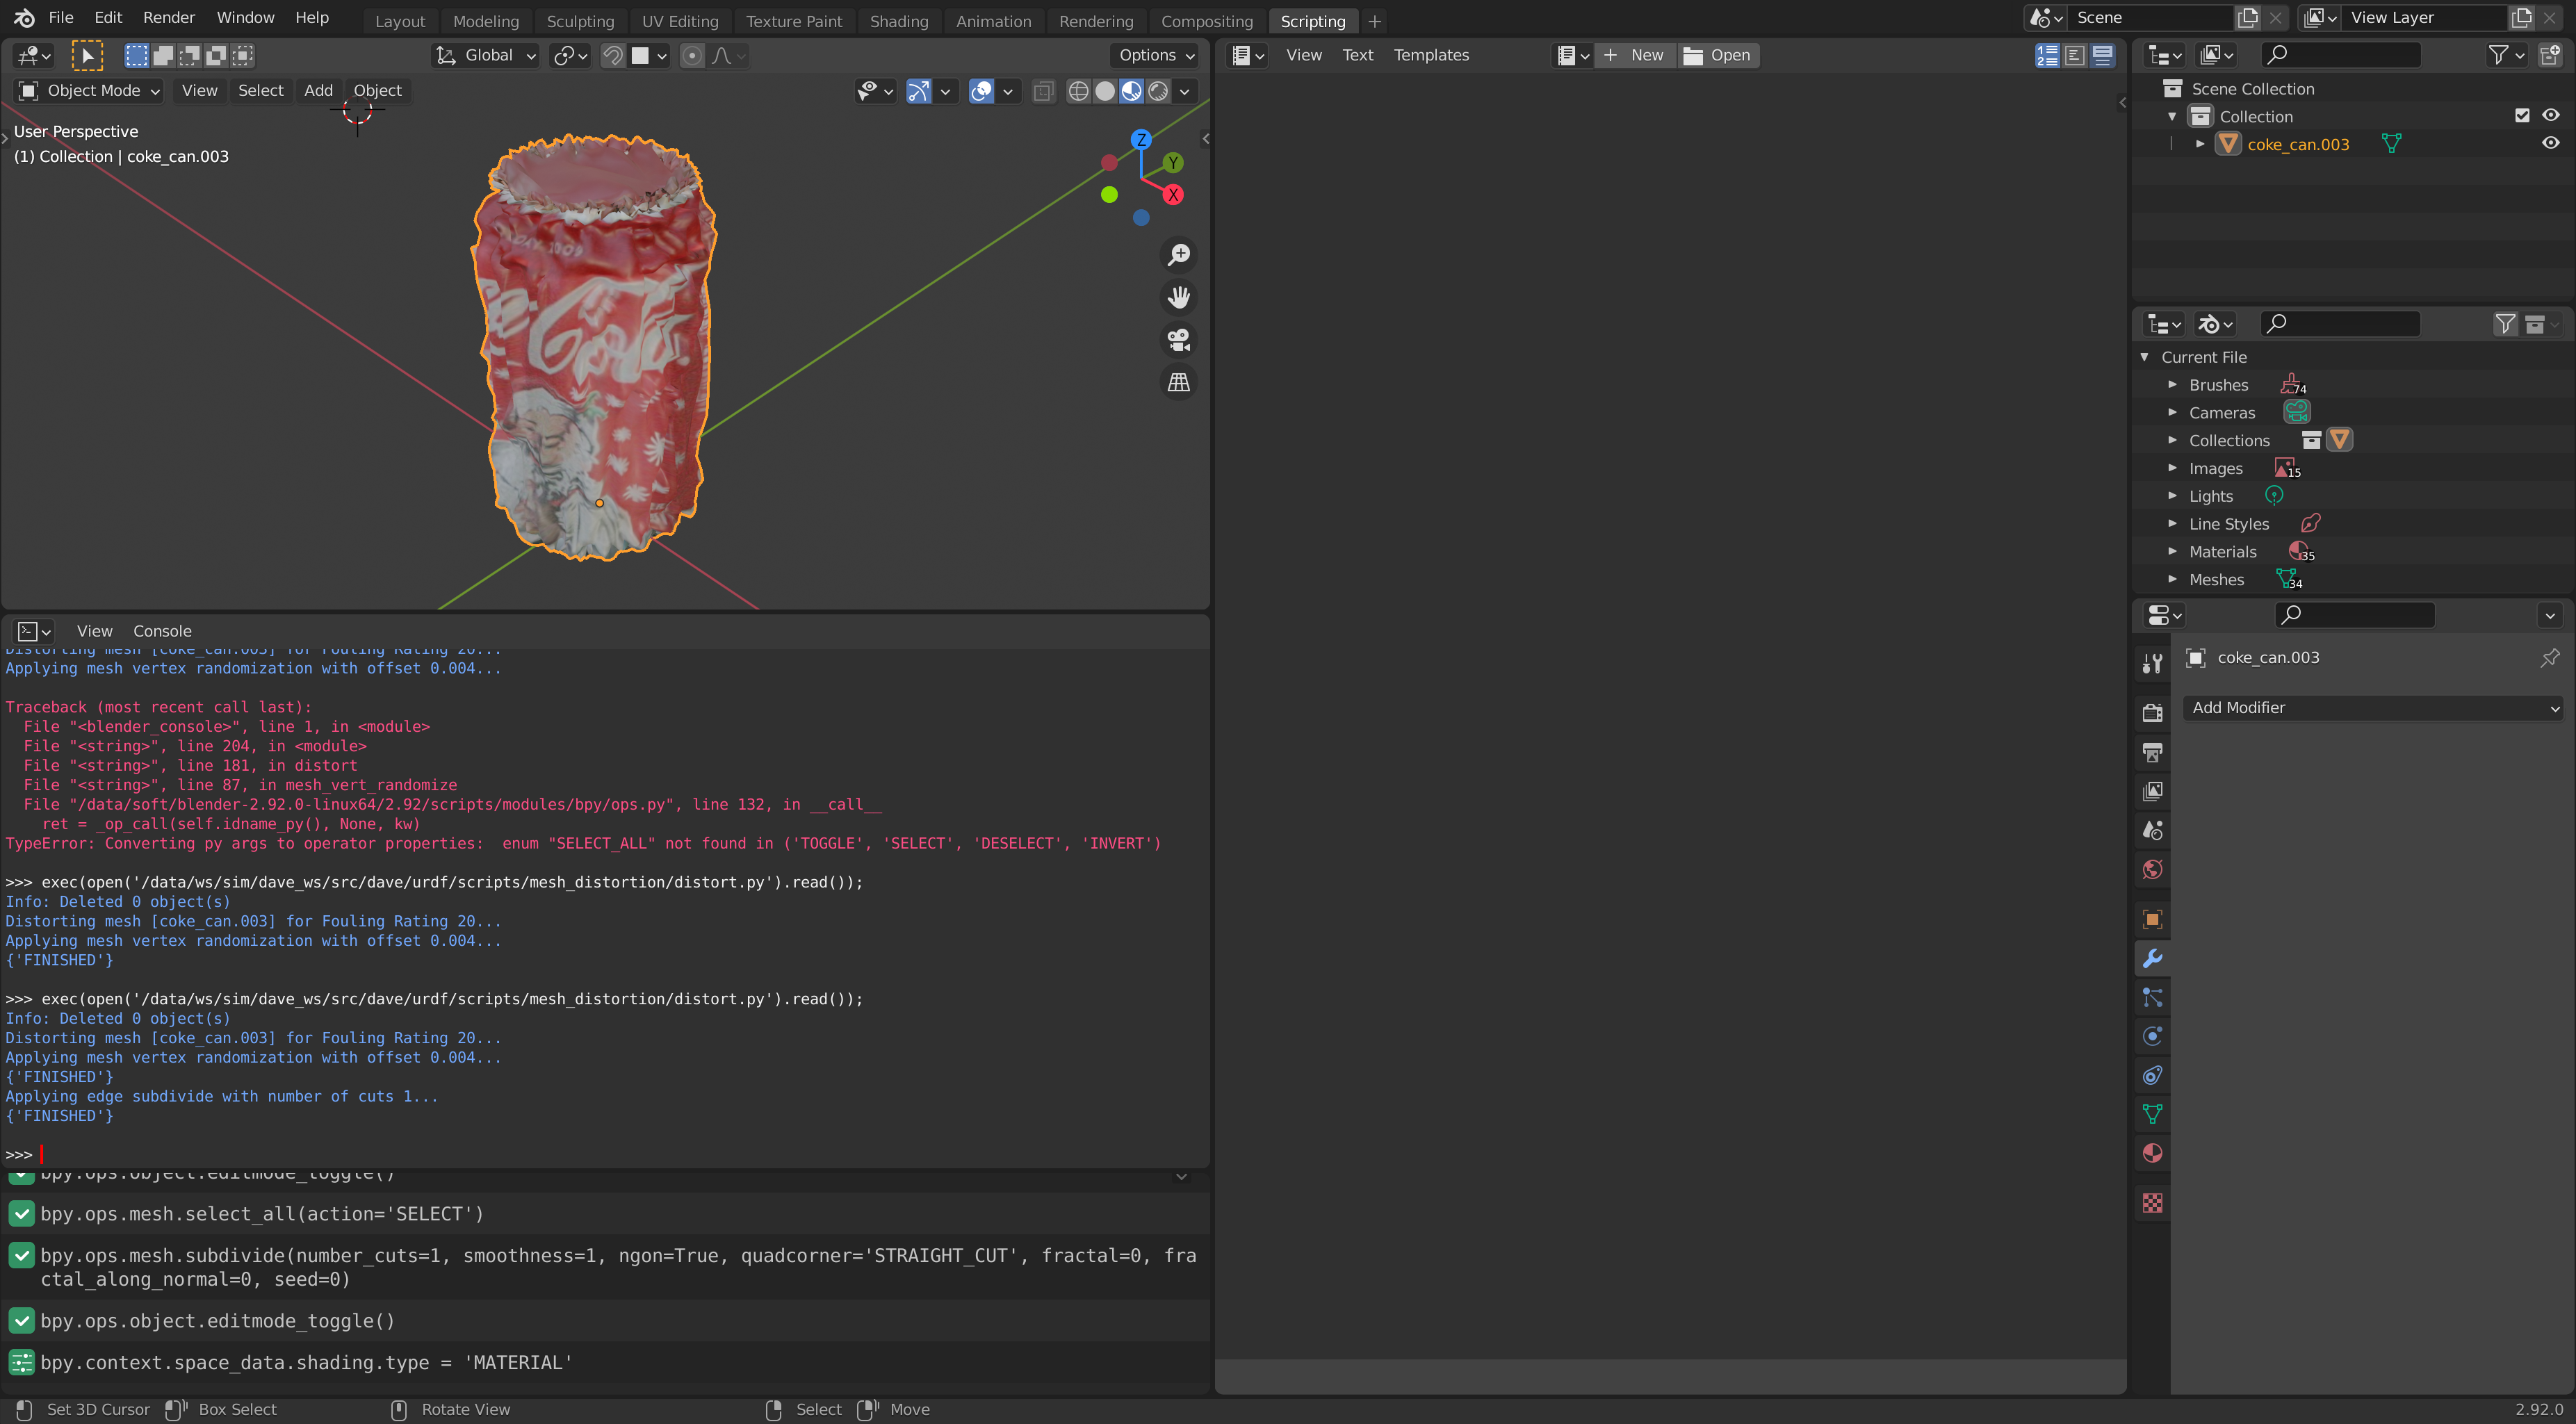
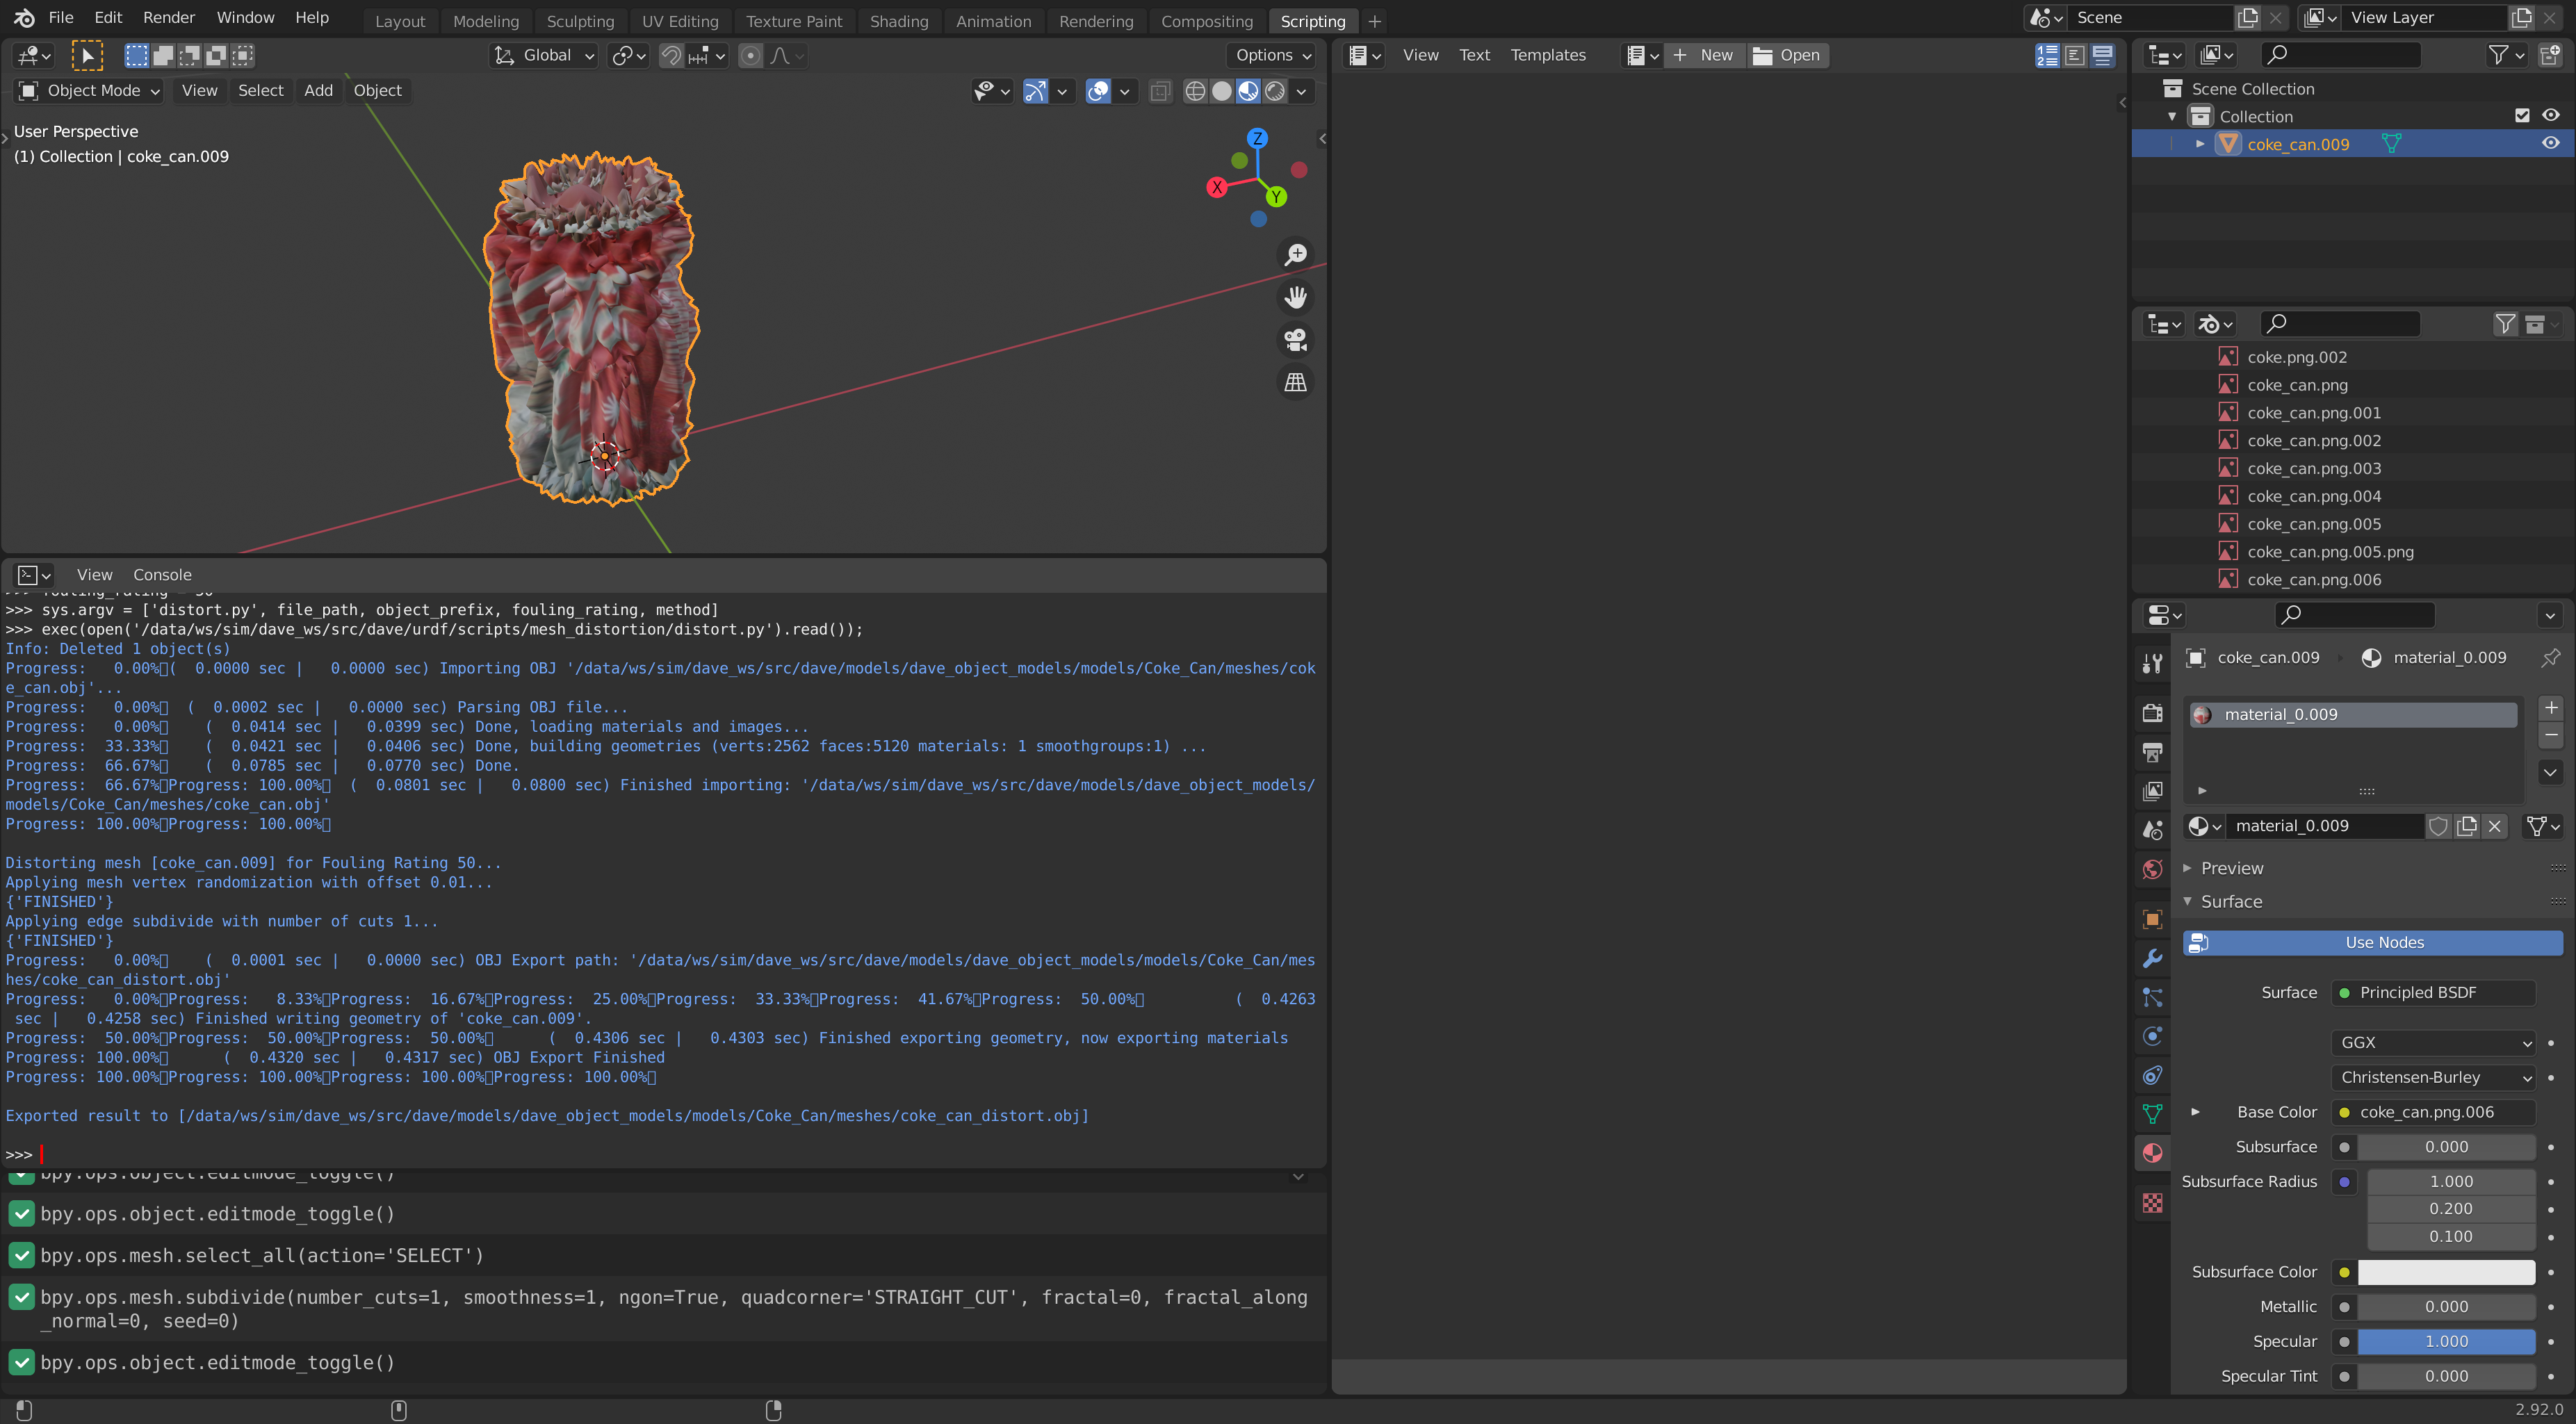
Coke object distorted at increased extents
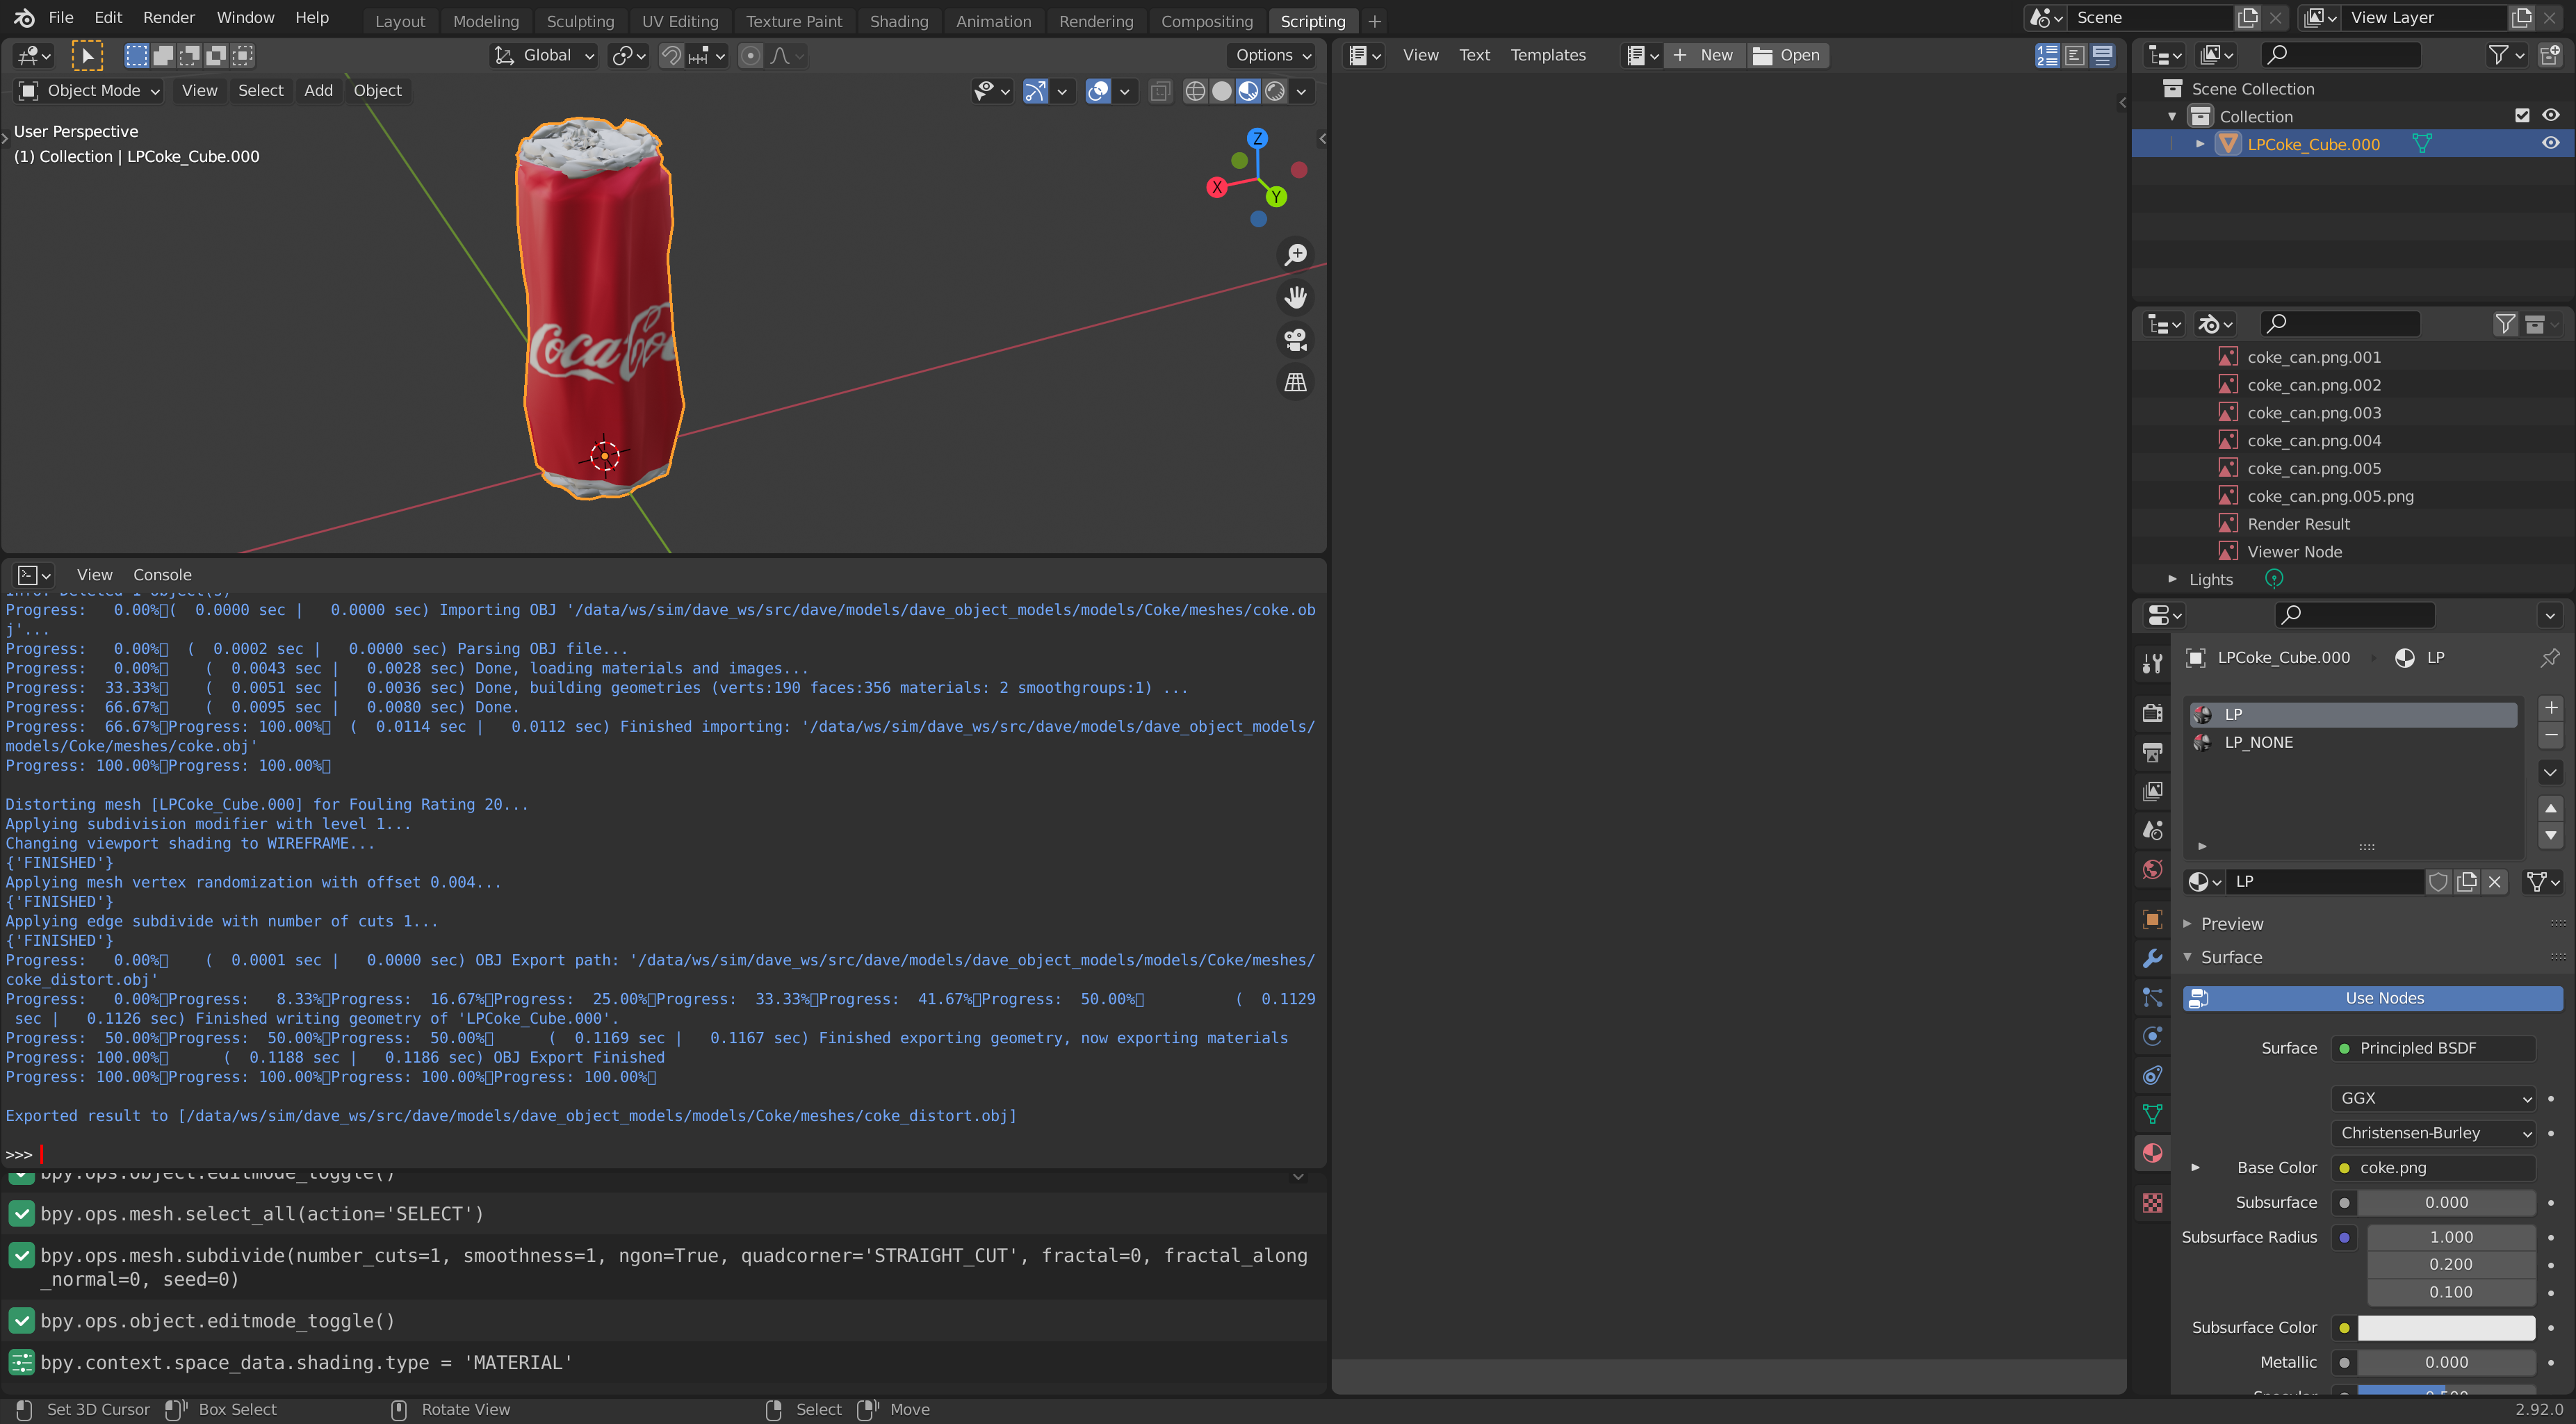
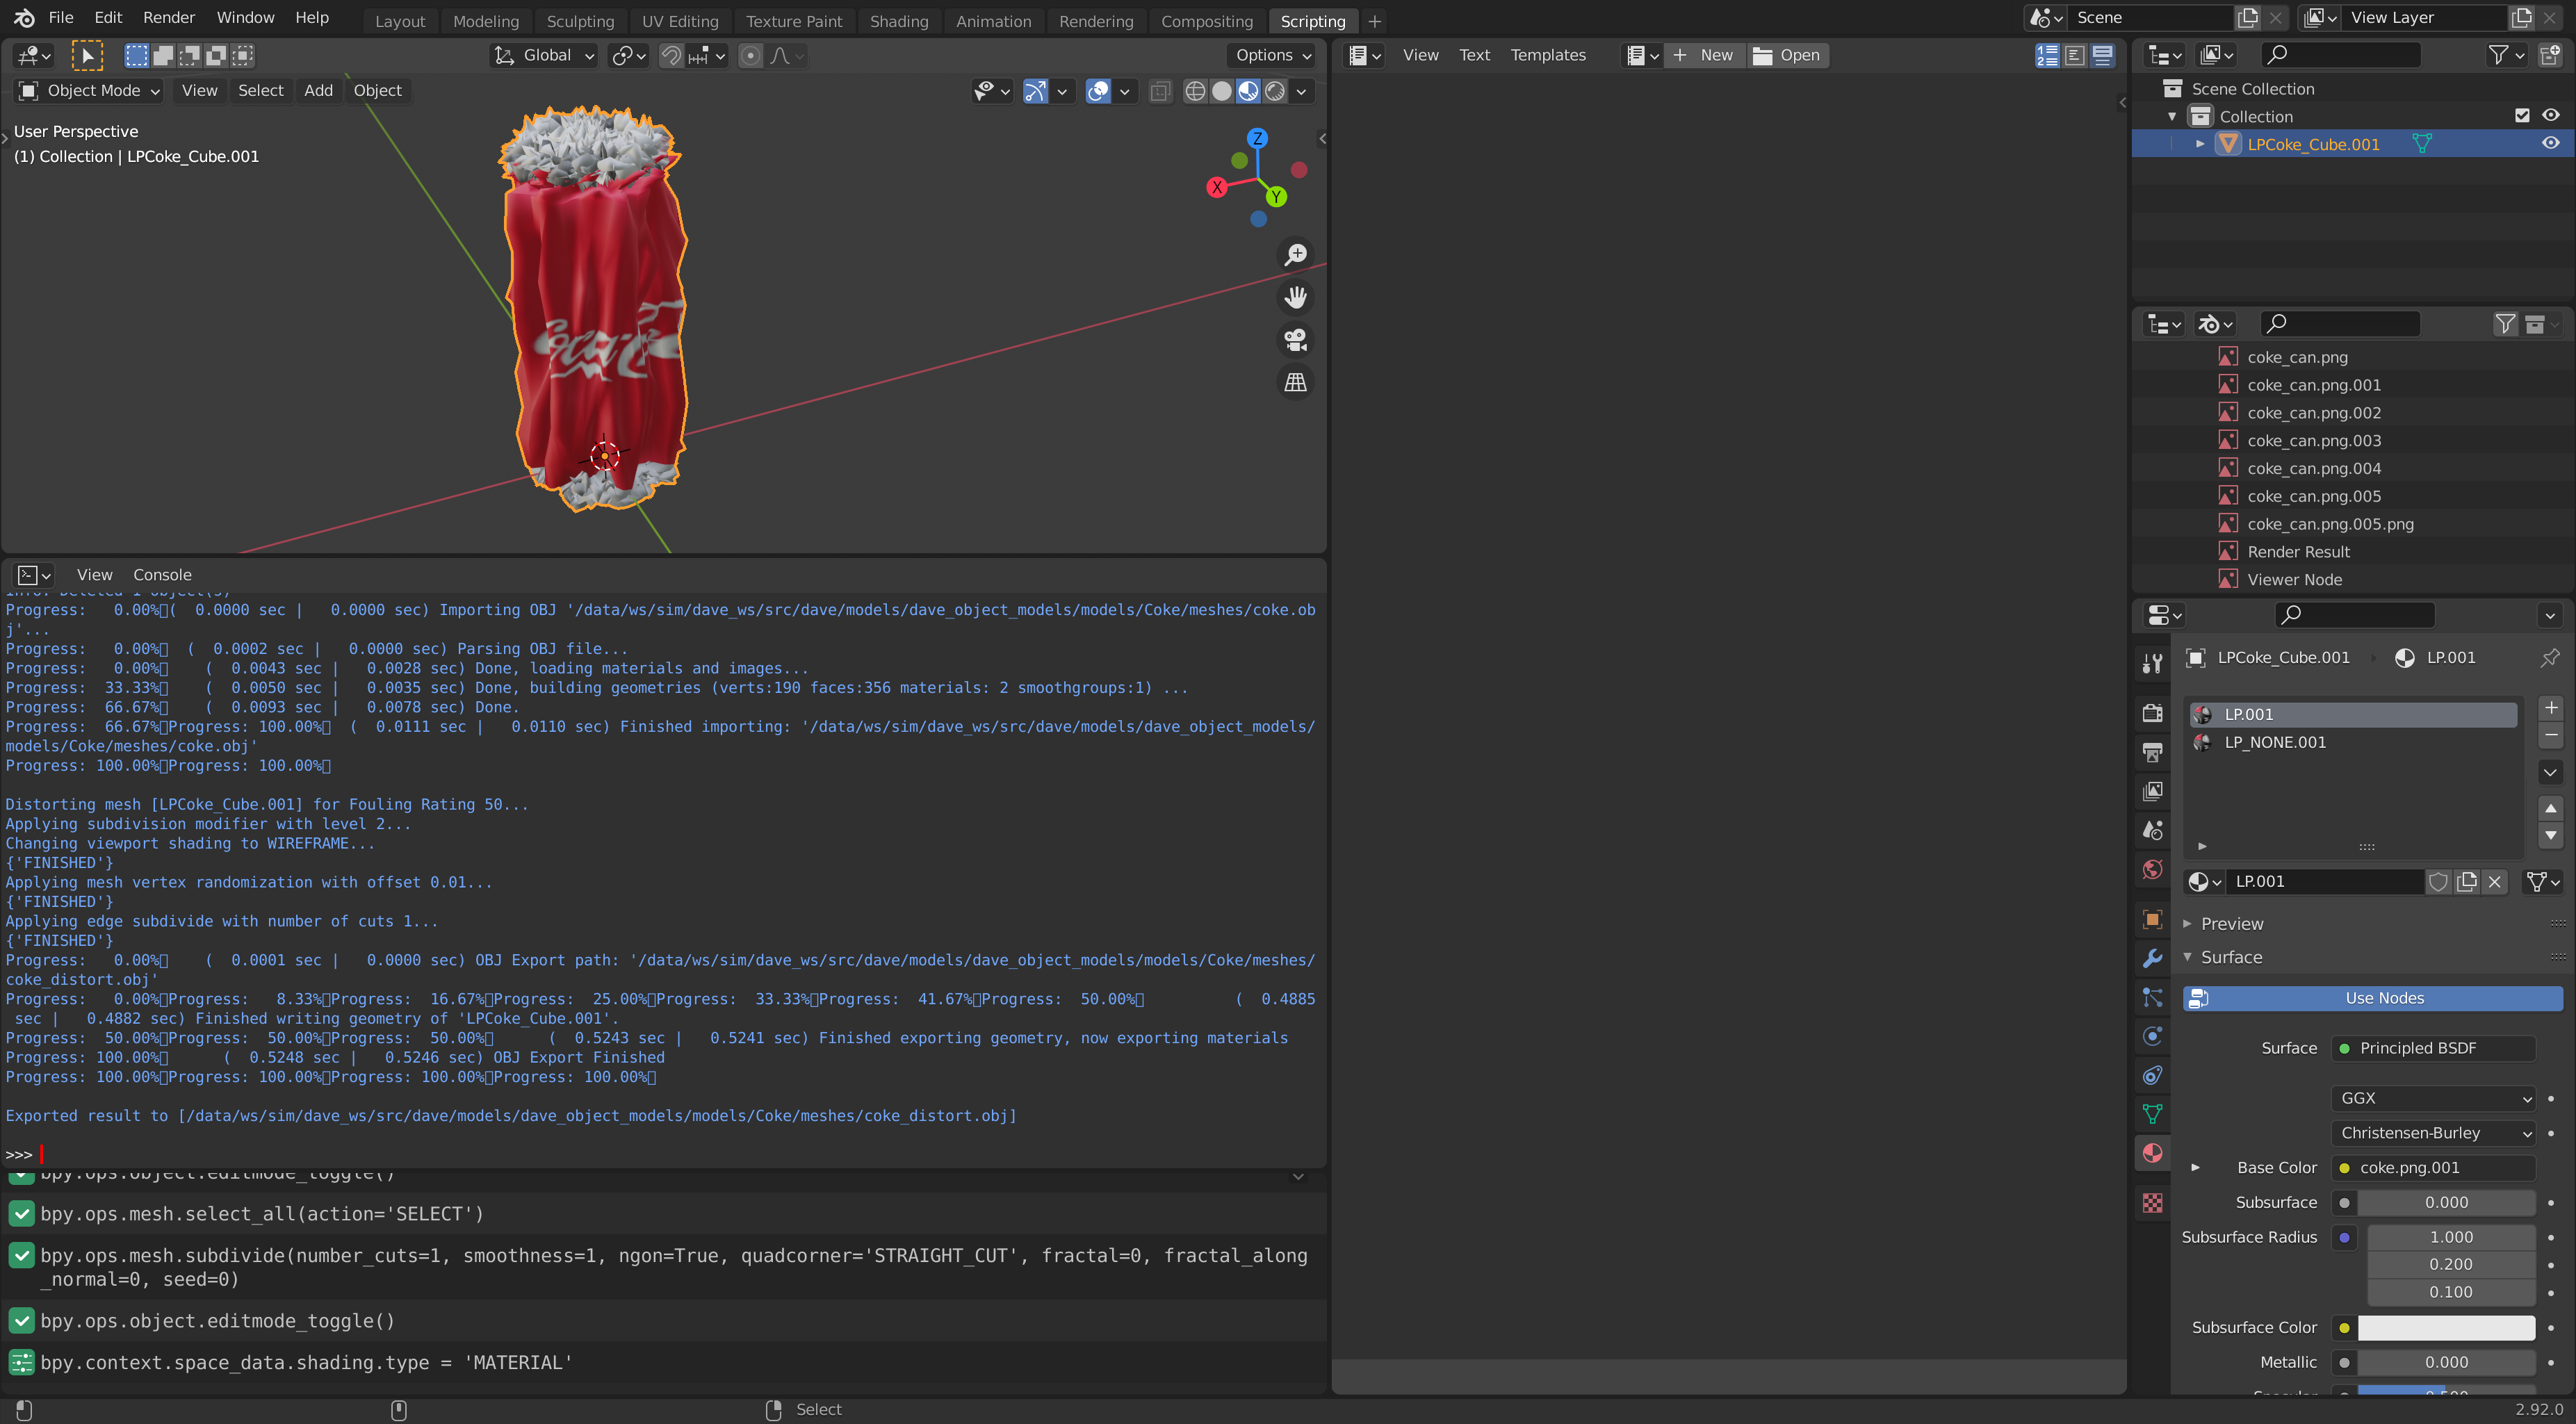
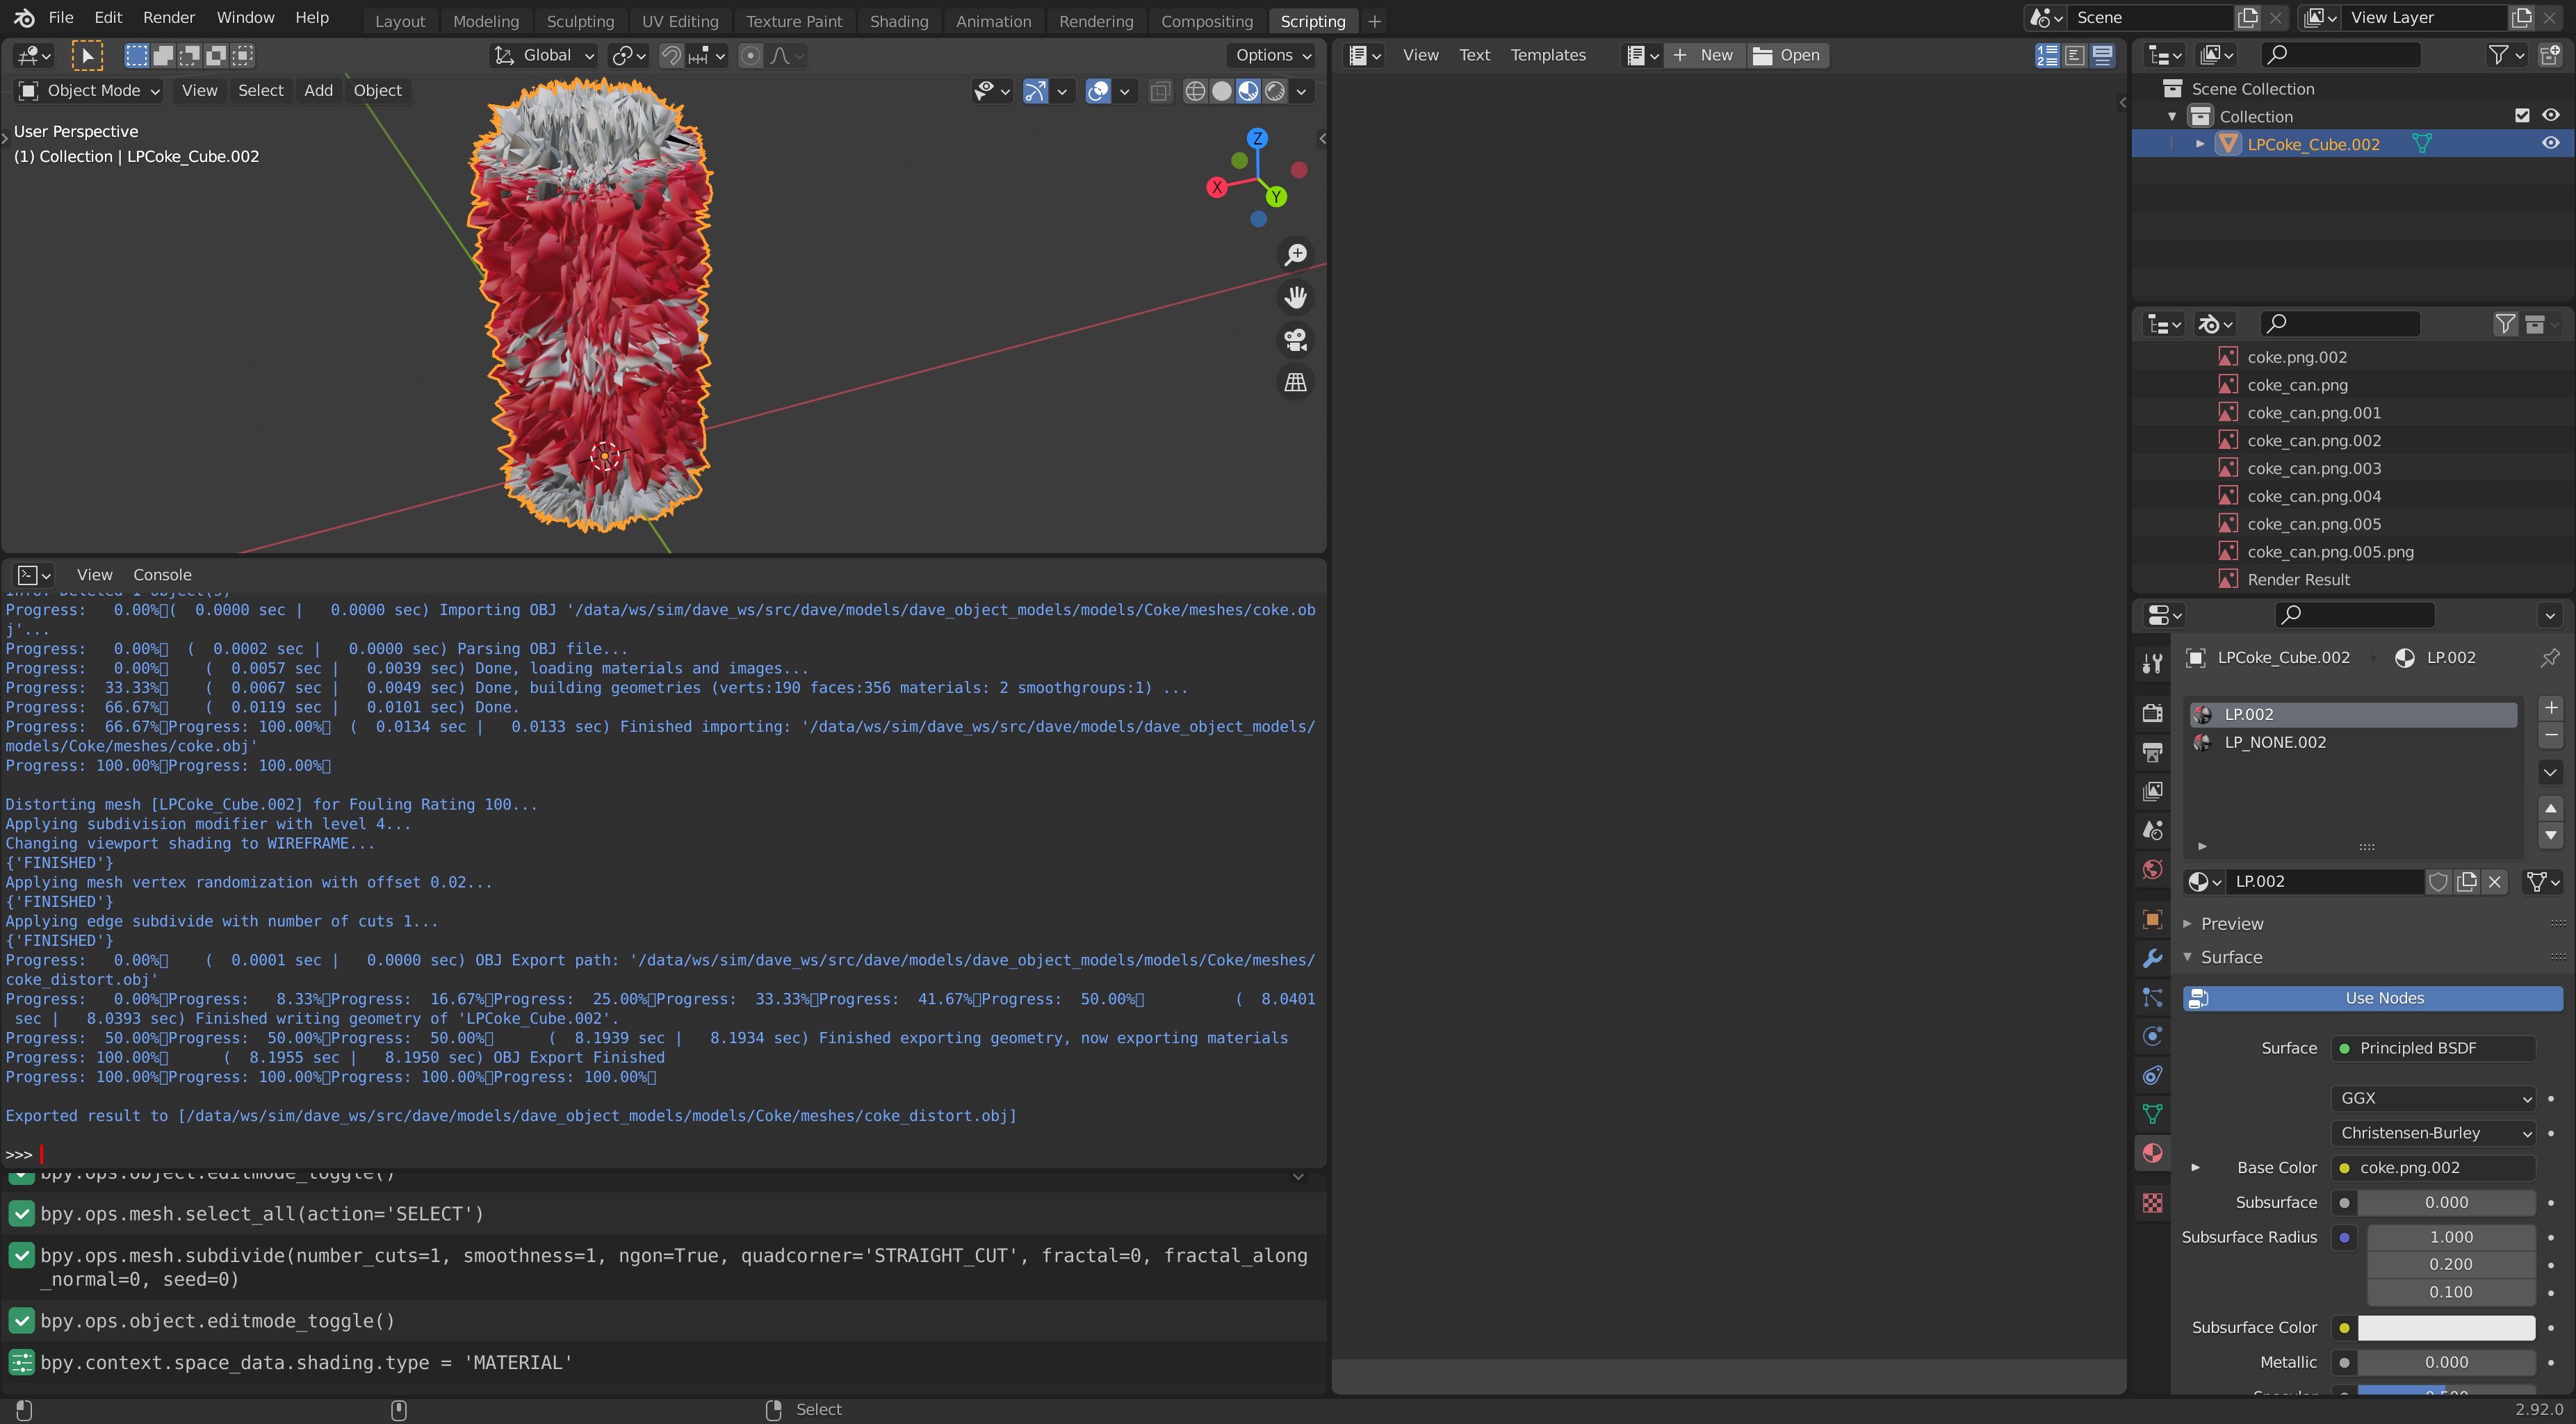
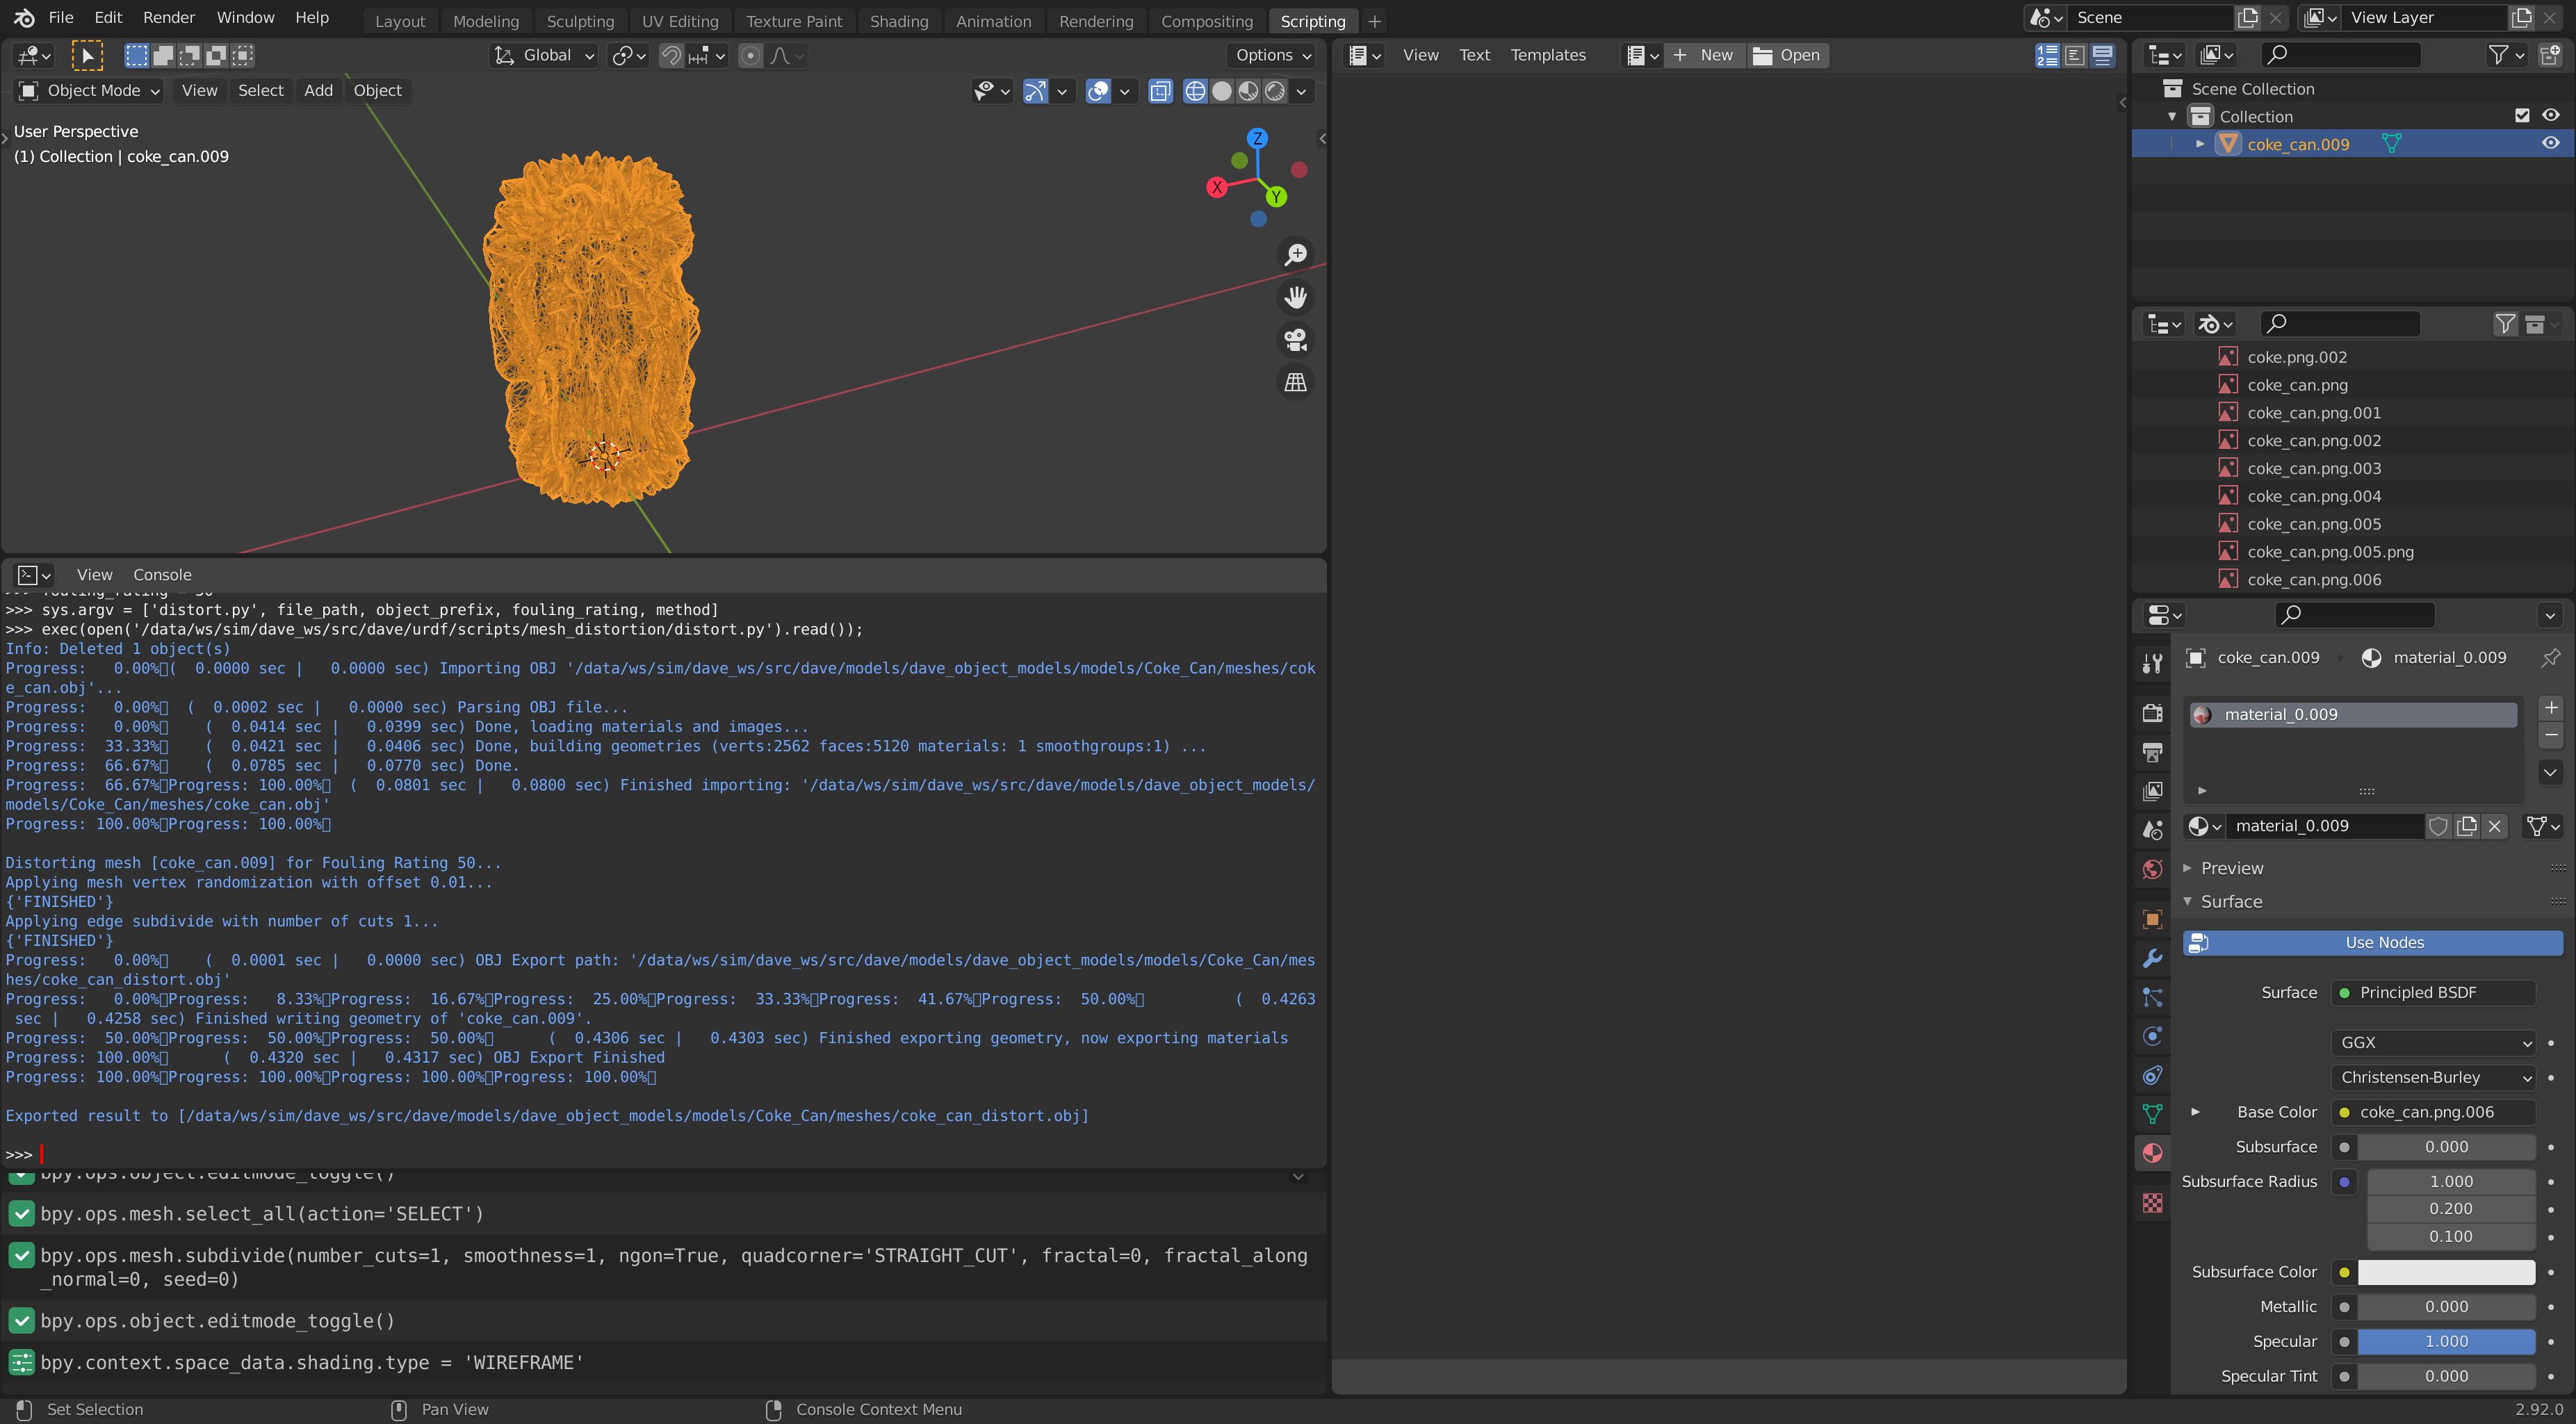
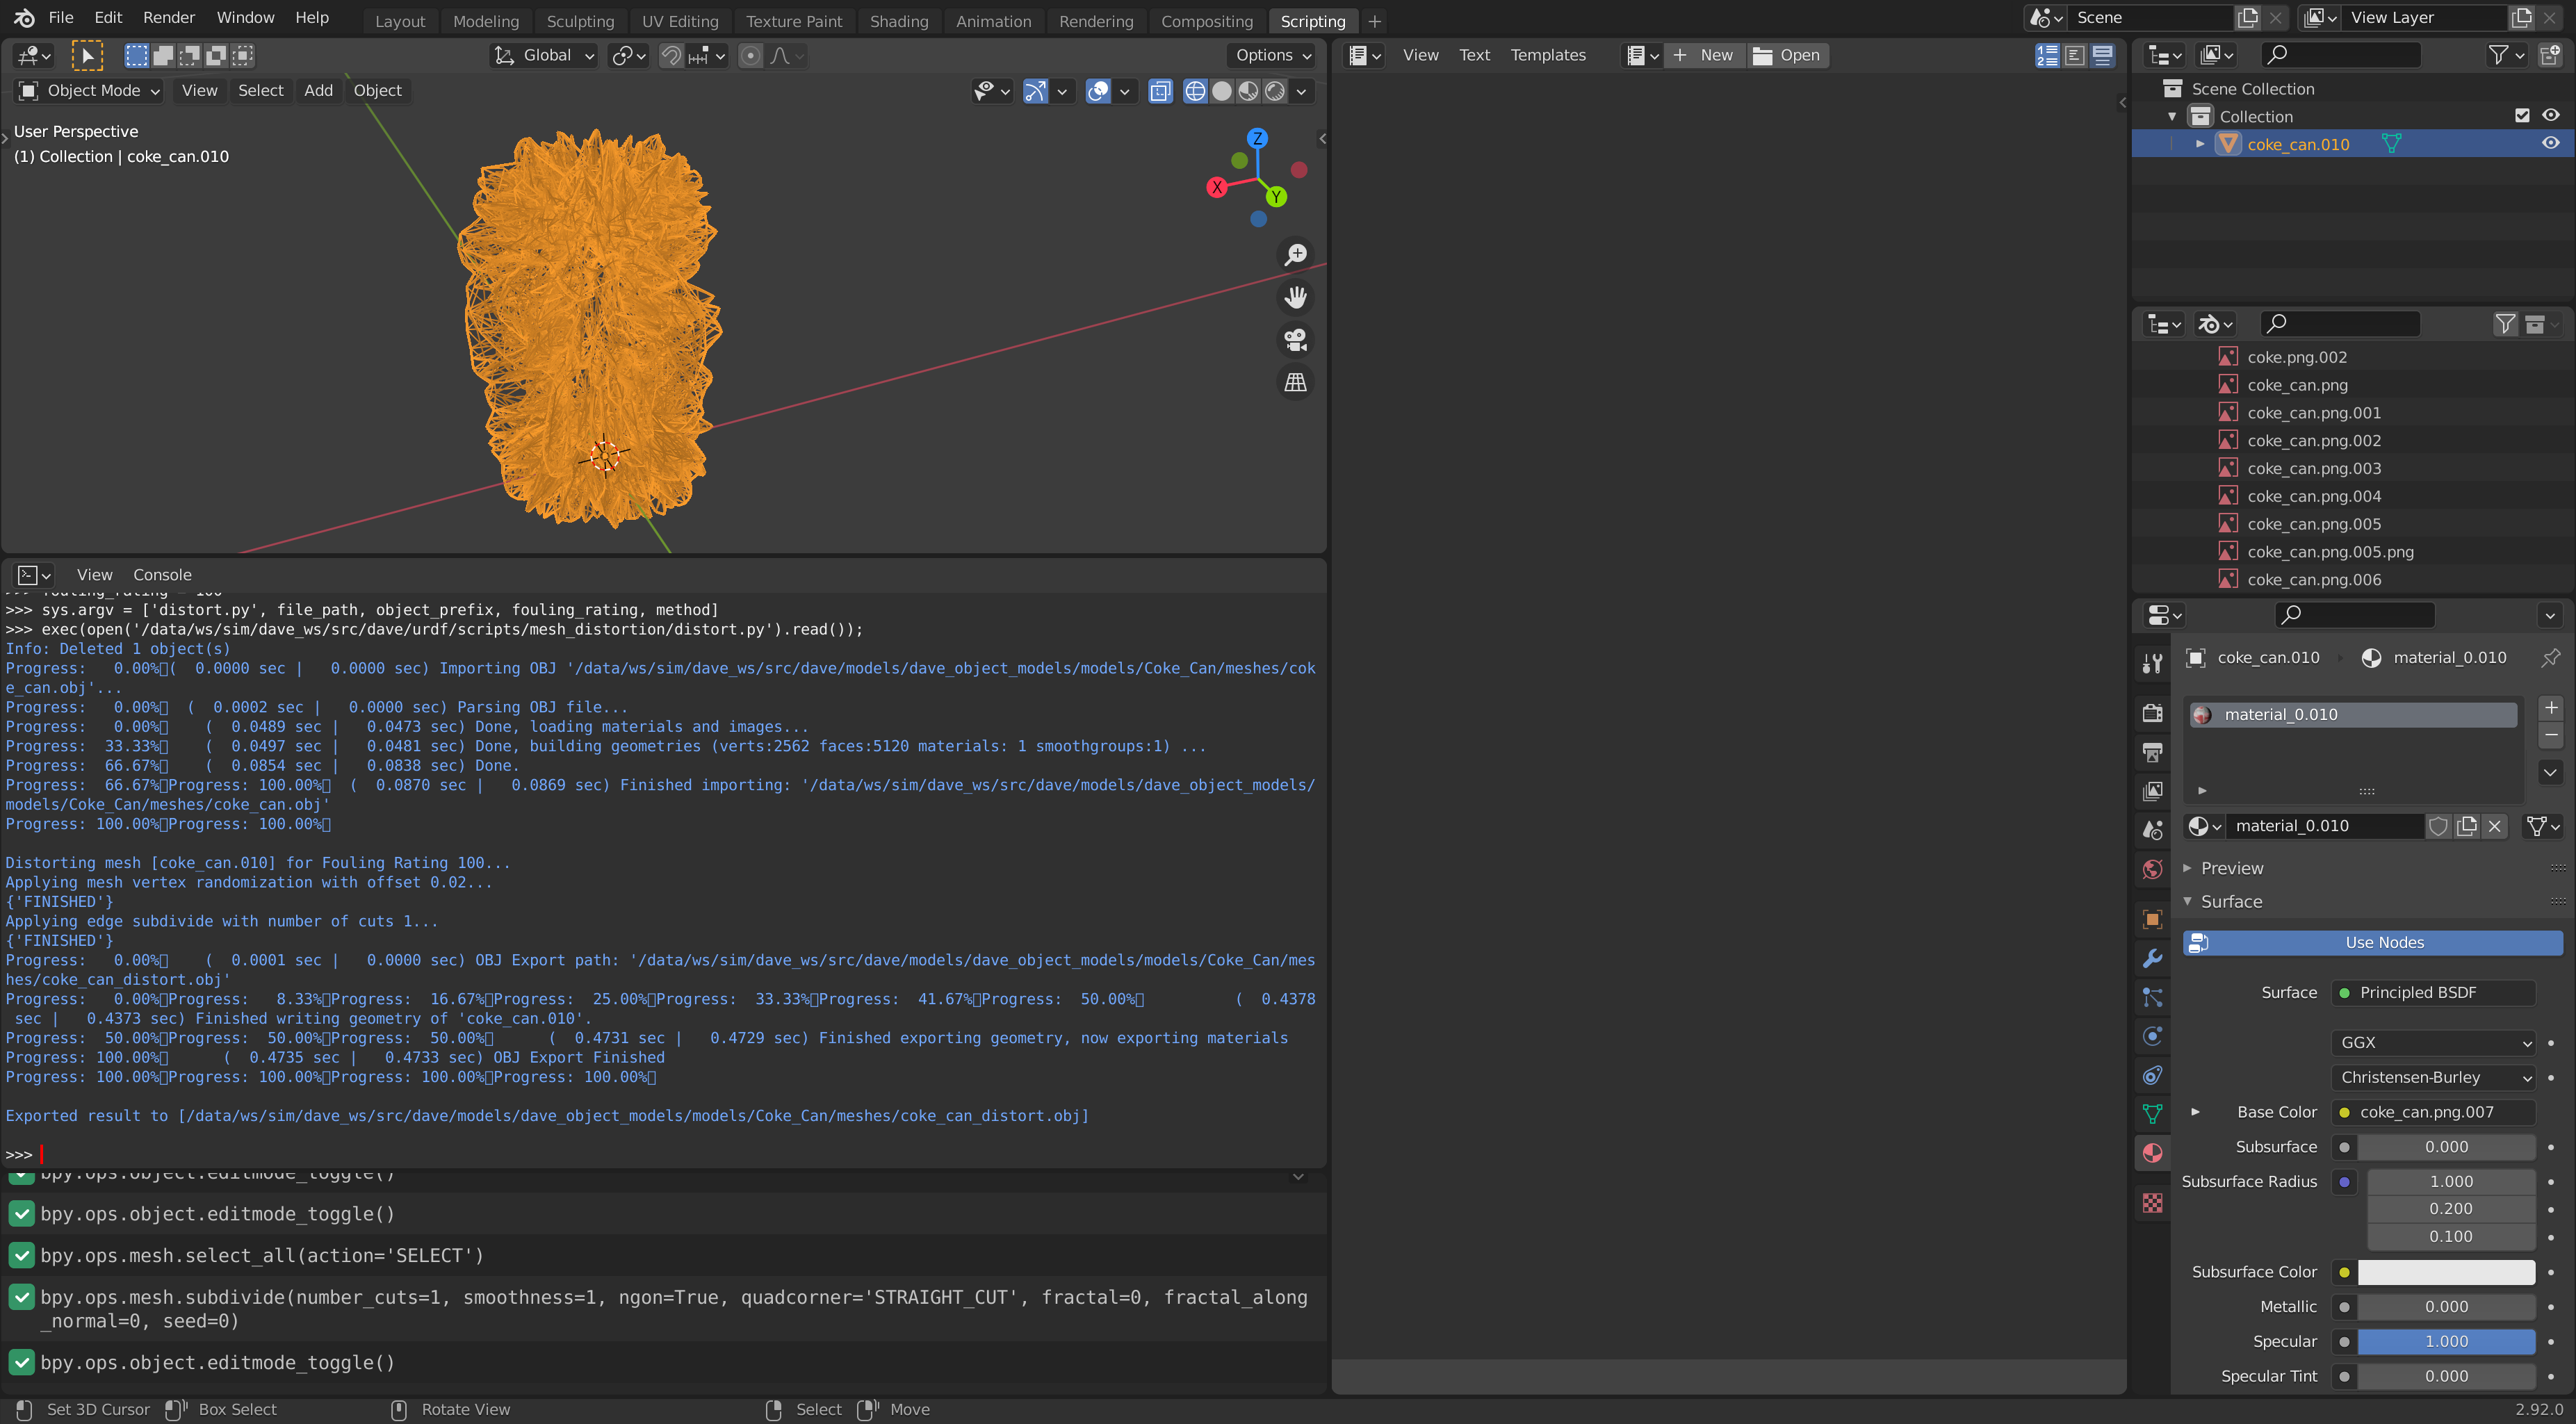
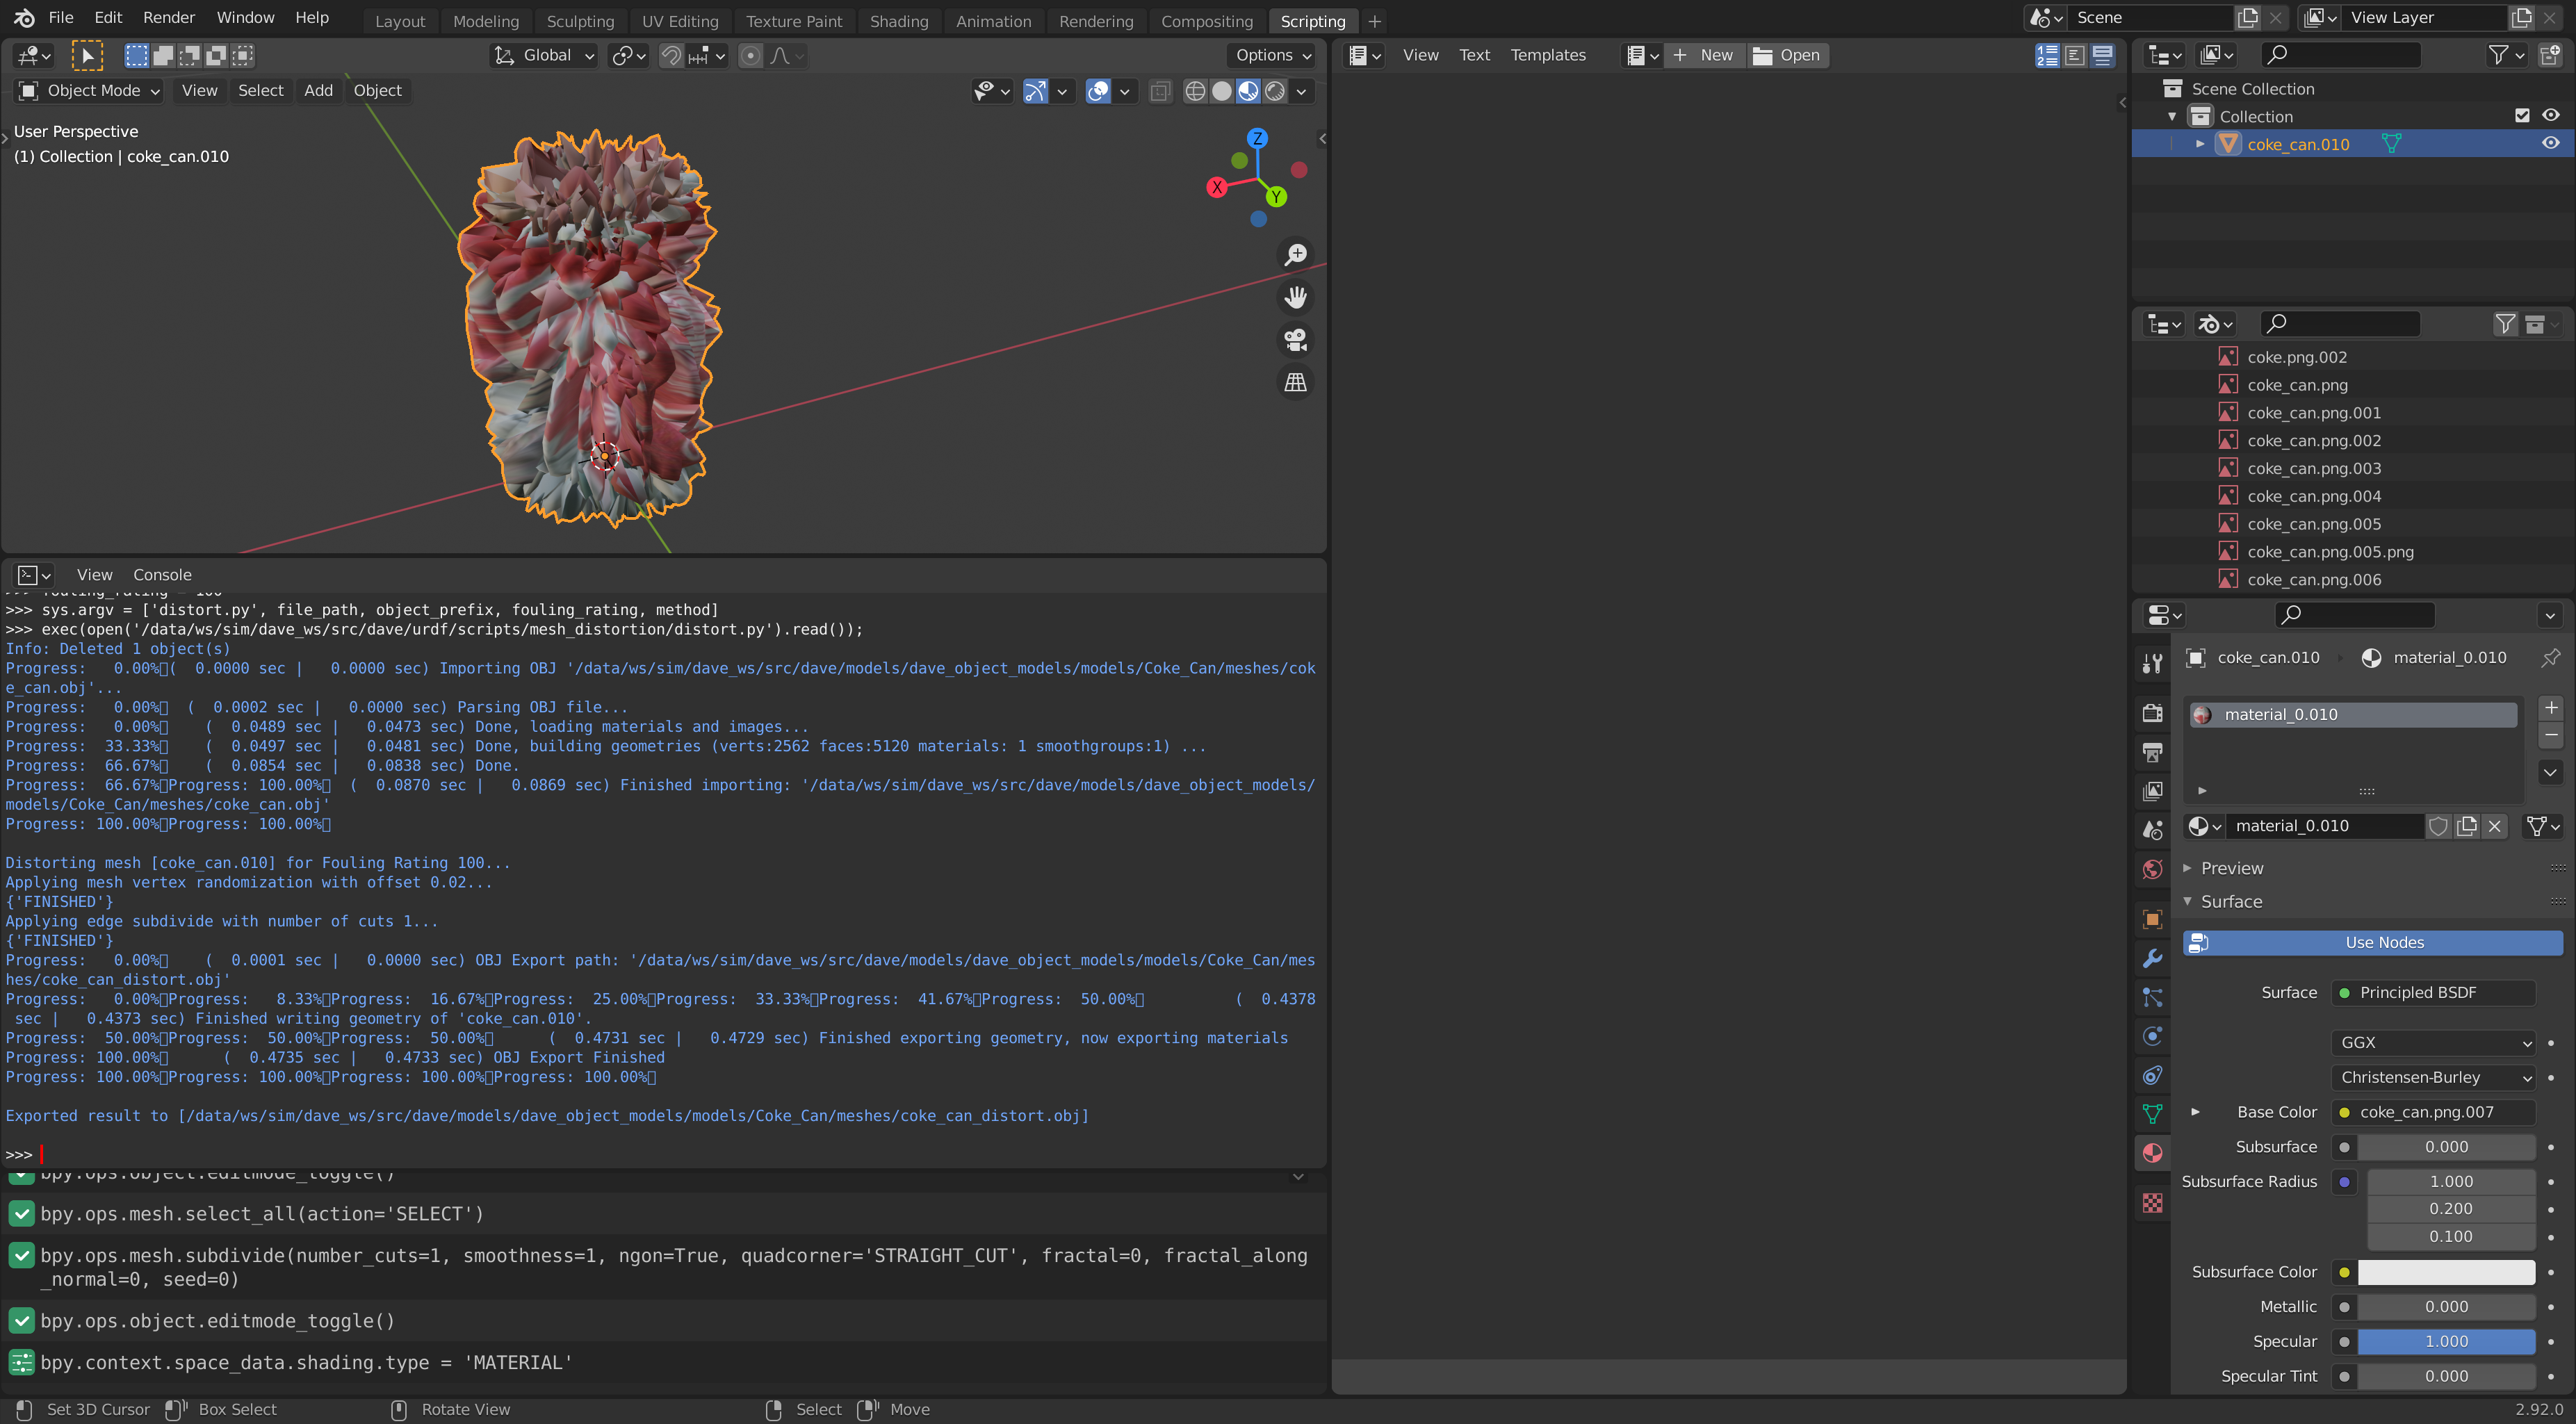
Coke Can object distorted at increased extents
This example shows the Coke Can, which we first converted to OBJ format and then distorted.
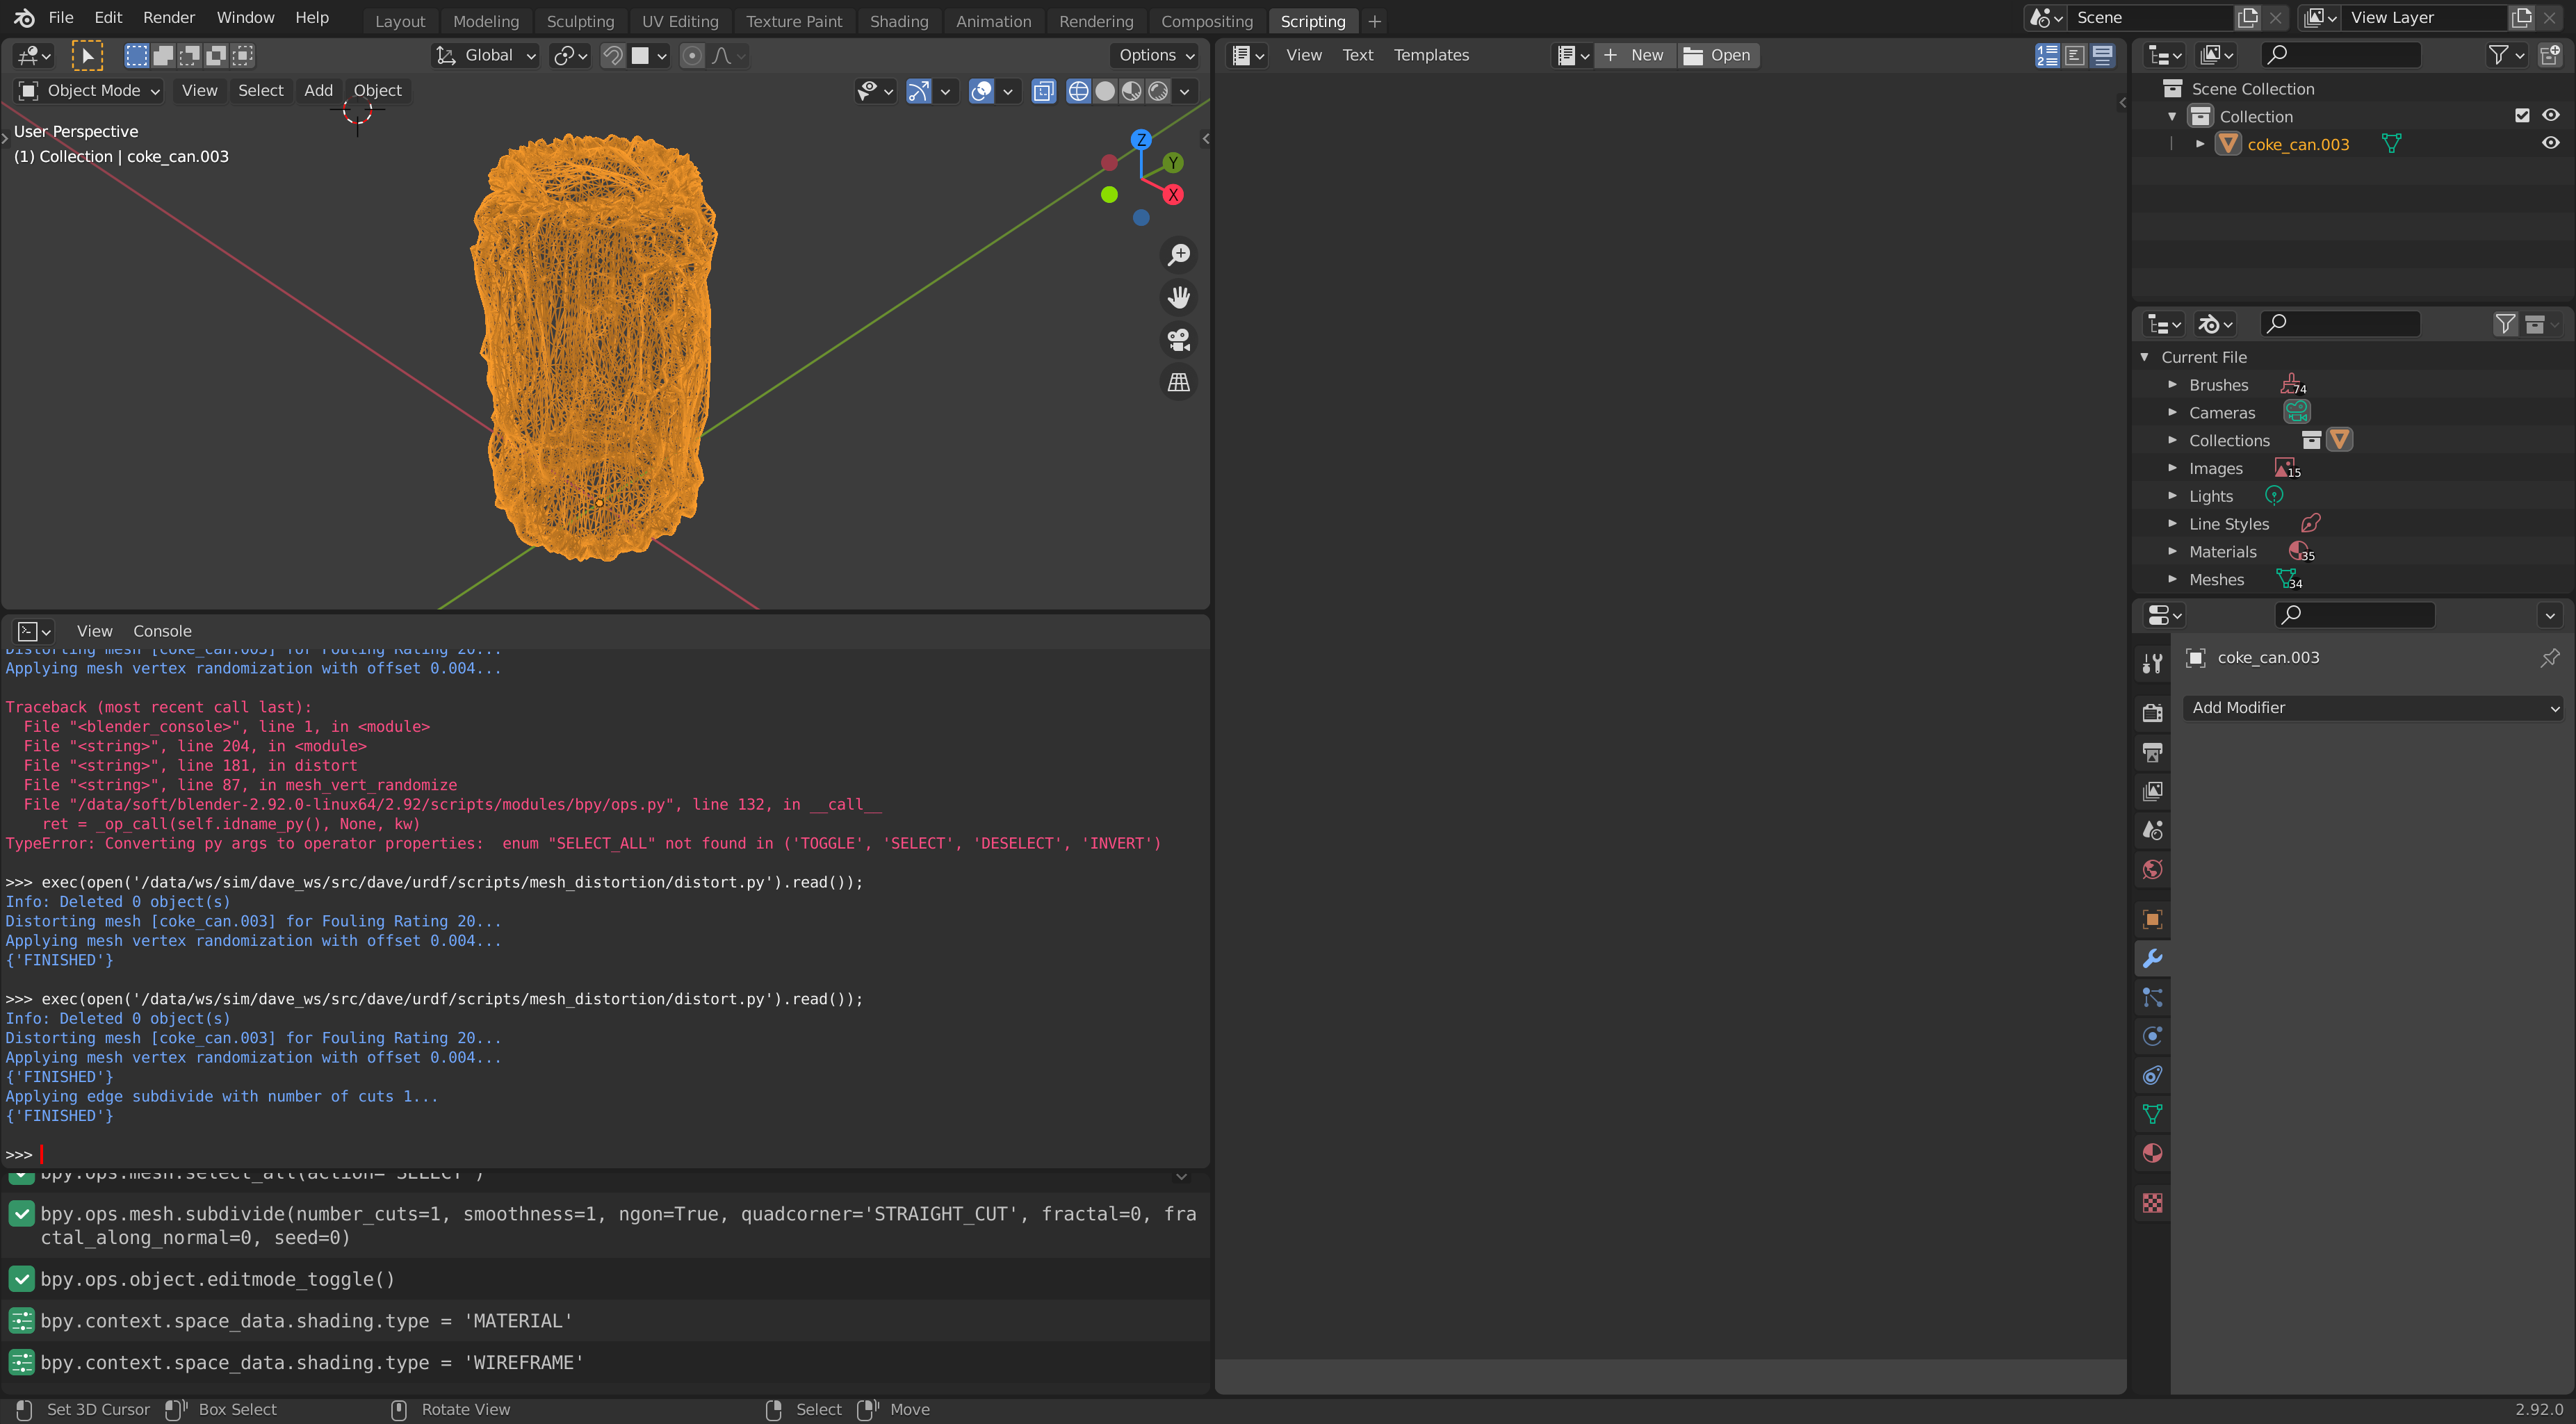
Wireframe view:
Textured view:
To add a new distortion method to the script
There are many ways in Blender to modify a mesh. The example methods in the script may not have everything you need.
To add a new distortion method to the script, follow these steps:
Experiment with the distortion method you want, manually in Blender, until you know the exact steps to reproduce a desired result.
Find the Python API for the fields and buttons in the Blender user interface.
You can find the Blender Python API name by hovering on most buttons, if you have Python Tooltips turned on in Edit > Preferences.
In the Blender Python script, add a string parameter describing the distortion type to the
METHODSlist.A descriptive name would be one that closely resembles the core essential function name in Blender.
- Add a Python function to perform all the necessary steps programmatically, using the API you found above.
- Following the existing pattern in the Python script, add an if-statement to call the new method.
- Run it! Trial and error to make sure it works for different models. See troubleshoot section below.
Troubleshoot
Incorrect context
Blender might complain about incorrect context. One cause is that the object you are trying to modify is not the "active" object.
(Note that this is different from the object being selected. An object can be selected, indicated by an orange outline, but not active, which would be indicated by a white outline.)
To make the object active, find the object programatically, then call
There are example calls in the Python script.
Tips
Collision geometry
When using the mesh with a physics engine, for example by way of an SDF file to be loaded into Gazebo, note that it is usually not a good idea to use the visual mesh for collision, because of the high polygon count. Typically, a simple primitive is used for collision, which makes computations much faster.
However, if the goal is to have mesh deformation affect physical interactions like manipulation, using a simple primitive would defeat the purpose. In that case, a good compromise is to optimize (for example, using the Decimate modifier in Blender) the visual mesh down to a fraction of its polygon count, and use the optimized mesh for collision. There will be mismatches between collision and visual geometry, but collision computations would be much faster.
Known issues
- Blender sometimes does not export the texture back to a COLLADA file correctly. Importing OBJ and exporting COLLADA works fine.