Overview
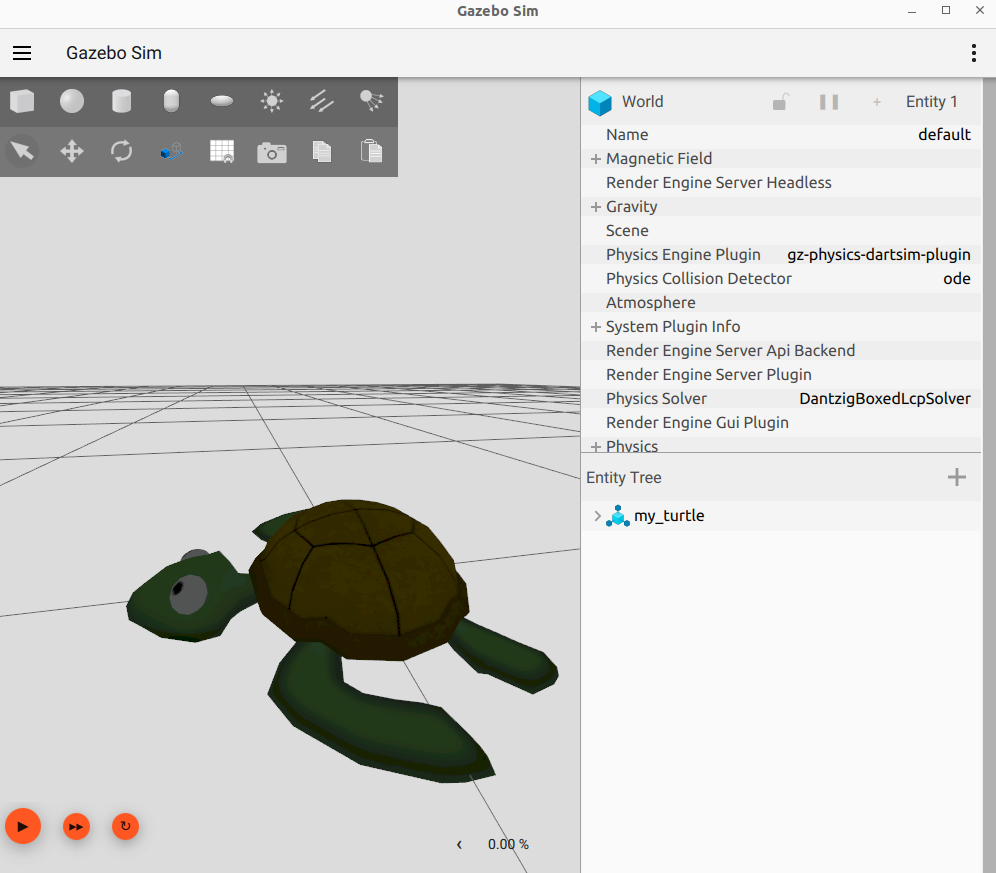
This tutorial describes how to import 3D meshes into Gazebo to increase the visual fidelity of your model. Continuing with our example, we'll attach a 3D mesh to our turtle, making it look much better.
Related tutorials
The next tutorials, although still relevant, are from an older version of Gazebo and some details might be different than the current versions:
https://classic.gazebosim.org/tutorials?tut=import_mesh&cat=build_robot https://classic.gazebosim.org/tutorials?cat=guided_i&tut=guided_i2
What is a visual?
The visual element specifies the shape used by the rendering engine. For most use cases the collision and visual elements are the same. The most common use for different collision and visual elements is to have a simplified collision element paired with a visual element that uses a complex mesh. This will help improve performance.
SDF supports the notion of visual as described here.
From our previous tutorial, the turtle visual is a cylinder. Let's use a COLLADA mesh instead.
Model directory structure
Gazebo has defined a model directory structure that supports stand-alone models, and the ability to share models via an online model database. Review this tutorial for more information.
Another benefit of Gazebo's model structure is that it conveniently organizes resources, such as mesh files, required by the model.
Create the directories to add the mesh and its texture:
Next, download the COLLADA mesh and its texture.
Now, let's edit our model.sdf to use the new mesh as our visual.
Load your model in Gazebo
Launch Gazebo and load our model:
You should see your model visualized as a mesh now!
