Overview
Gazebo now supports basic simulation of underwater vehicles. This capability is based on the equations described in Fossen's "Guidance and Control of Ocean Vehicles". This tutorial will guide you through the steps you need to setup simulation of an underwater vehicle. In this tutorial, we will guide you through the setup of the MBARI LRAUV.
Related tutorials
Create your vehicle
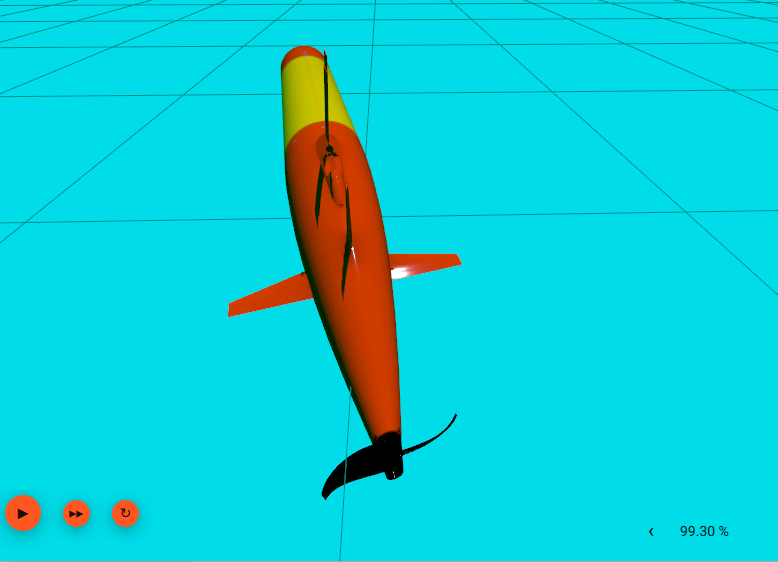
As an example, we'll go through the process of creating an MBARI LRAUV underwater vehicle.
Create a workspace to store your brand new model named my_lrauv.
Download all the files from here and copy them within that directory:
Open with your favorite editor ~/gazebo_maritime/models/my_lrauv/model.sdf.
Notice how the vehicle has been divided into multiple links: chassis, horizontal fins, vertical fins, and a propeller. This is a very common division in vehicles that contain one or more thrusters and some control surfaces. Both the propeller and the control surfaces are movable, thus we need to create separate links for them.
At the bottom of the model.sdf file, you'll find the three joints that connect the horizontal fins, vertical fins, and propeller to the main chassis respectively. All of them are revolute joints, but with different upper and lower limits. While the propeller does not have any limits (to allow infinite rotation), the fins have lower values to constraint the amount of movement of the fin. Again, this is a very common pattern that you'll need to configure based on the specs of your vehicle.
Let's run the simulation:
You should see Gazebo with your LRAUV loaded. If you hit play, your robot will sadly sink. The good news is that this is expected as we did not attach any plugins to the LRAUV model. Let's do that!
Adding buoyancy
The first thing we need to decide is how much buoyancy we want to provide to our vehicle. In the LRAUV case, we want a robot with neutral buoyancy. In other words, our robot should maintain depth when stationary.
Buoyancy works by opposing the weight of the vehicle. In order to compute the amount of buoyancy force, first we need to sum the total weight of our LRAUV. There's a total of 148.3571 kg (147.8671 + 0.2 + 0.2 + 0.09 kgs) when we add the mass of the chassis, fins and propeller. The buoyancy force is proportional the volume of air in the vehicle according to this equation:
$$volume\_neutral = \frac{mass}{waterDensity}$$
In our case:
$$volume\_neutral = \frac{148.3571}{1000} = 0.1483571$$
That's the total volume of air that our vehicle should contain to keep the robot neutral. If the volume is smaller, the vehicle will sink. If the vehicle's volume is bigger, it will move up. The buoyancy plugin uses all the <collision> elements of the model to compute volume.
Let's verify the total amount of air volume in our vehicle adding up the volumes of all the collision elements:
$$volume = (2 * 0.3 * 0.2464451666666667) + (0.1 * 0.1 * 0.02) + (0.1 * 0.1 * 0.02) + (0.03 * 0.1 * 0.03) = 0.14835710000000002$$
This is the volume that we were looking for to achieve neutral buoyancy. Let's test it! Uncomment the lines in model.sdf:18--24 to restore the buoyancy and launch the simulation:
Let's now download the following world that includes the buoyancy plugin:
And launch Gazebo:
Now your LRAUV should stay in place! Let's experiment with the buoyancy values. Edit the main_body_buoyancy geometry in your model.sdf to be:
And now relaunch the simulation:
Your LRAUV should slowly sink. Feel free to experiment with other buoyancy values but remember to restore the original value:
Adding thrusters
We need the vehicle to move, so we will be adding the Thruster plugin. The thruster plugin takes in a force and applies it along with calculating the desired rpm. Uncomment the following block from your buoyant_lrauv.sdf world:
And start the simulation:
Now if we were to publish to /model/my_lrauv/joint/propeller_joint/cmd_thrust
We should see the model move. The thrusters are governed by the equation on page 246 of Fossen's book. In particular it relates force to rpm as follows:
$$thrust = fluid\_density * RPM^2 * thrust\_constant * propeller\_blade\_size^4$$
The plugin takes in commands in newtons. So if you have a different thrust curve you can still use the plugin with some type of adapter script. The thrust constant is normally determined by individual manufacturers. In this case we are using the LRAUV's thrust coefficient. you may also build a test rig to measure your thruster's thrust coefficient.
Adding hydrodynamics
You may notice that the robot now keeps getting faster and faster. This is because there is no drag to oppose the thruster's force. We will be using Fossen's equations which describe the motion of a craft through the water for this. For better understanding of the parameters here, I would refer you to his book. Usually these parameters can be found via fluid simulation programs or experimental tests in a water tub.
Hydrodynamics in Gazebo is split into two parts:
- Added mass and Coriolis: specified using the SDF
<fluid_added_mass>tag on the link's<inertial>element. The physics engine handles these implicitly. - Damping (drag): specified using the Hydrodynamics plugin parameters.
First, add the <fluid_added_mass> to the base_link's <inertial> element in model.sdf:
Then, uncomment the following block from buoyant_lrauv.sdf to enable hydrodynamic damping:
Adding control surfaces
Just like aeroplanes, an underwater vehicle may also use fins for stability and control. Fortunately, Gazebo already has a version of the LiftDrag plugin. In this tutorial, we will simply add two liftdrag plugins to the rudder and elevator of MBARI's LRAUV. For more info about the liftdrag plugin including what the parameters mean, you may look at this gazebo classic tutorial. Essentially when we tilt the fins, we should experience a lift force which will cause the vehicle to experience a torque and the vehicle should start turning when we move.
These are the relevant blocks to enable the LiftDrag plugins. They're already attached to the model for you.
The numbers in this case were kindly provided by MBARI for the LRAUV. We also need to be able to control the position of the thruster fins so we will use the joint controller plugin. These are the relevant blocks to enable the control surfaces. They're already attached to the model for you.
Launch Gazebo:
We should now be able to wiggle the fins using the following command:
Now apply some thrust:
And observe how the LRAUV turns due to the rudder's position. You can stop the propeller with:
And observe how eventually the LRAUV stops due to the water drag.